The music production app "KORG Gadget 3" for iOS/Mac not only allows you to record vocals, guitar playing, etc., but also allows you to import external audio files.
This time, we'll explain in an easy-to-understand manner how to record using KORG Gadget's audio track, incorporating some basic knowledge.
This is a must-see for anyone who wants to use KORG Gadget to create songs with vocals, or who wants to make tracks that make use of instrumental performances!
Audio tracks can be controlled with KORG Gadget 3 for iOS. KORG Gadget Le and KORG Gadget for Nintendo Switch are not supported.
The difference between "MIDI" and "Audio"
MIDI is "performance data" that defines the pitch, strength, and duration of sounds, and functions like musical notation.
By entering notes into this piano roll screen and writing down the strength and length of the notes, you can play gadget sound sources such as synths and drums.

Audio is the actual "sound" recorded by a microphone or other device.
Audio tracks are a valuable tool in music production, allowing you to utilize live sounds like guitars and vocals. We encourage you to incorporate audio recording into your track production process.
What gadgets can I use to record audio?
Tracks that can handle audio are called audio tracks, and their screen displays an audio waveform instead of the usual piano roll.
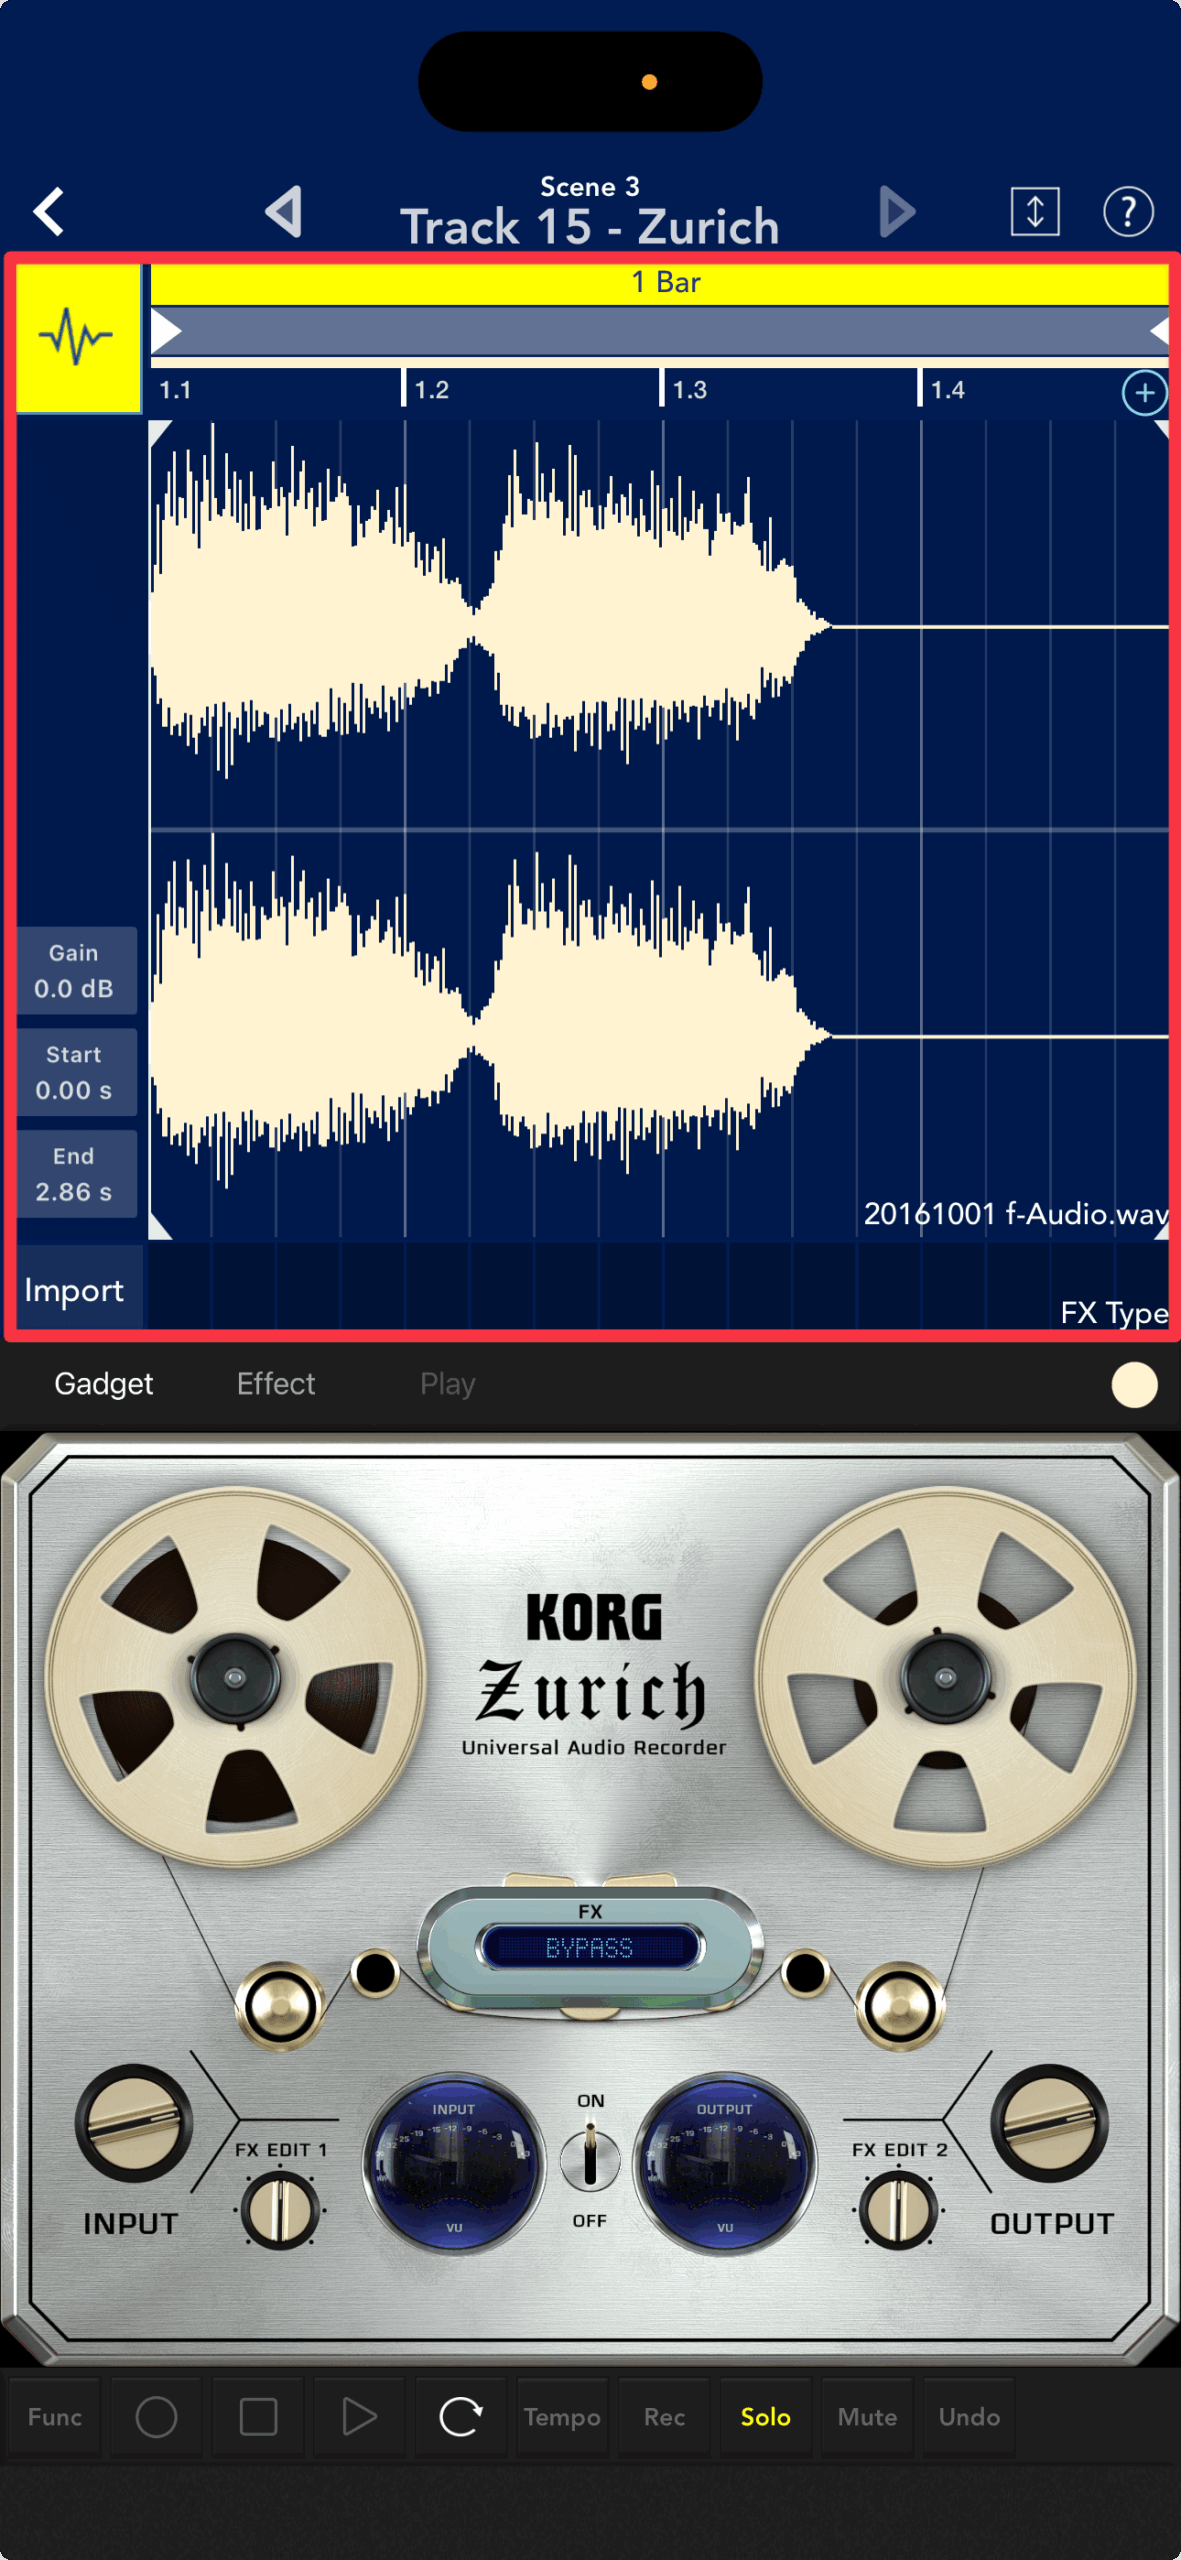
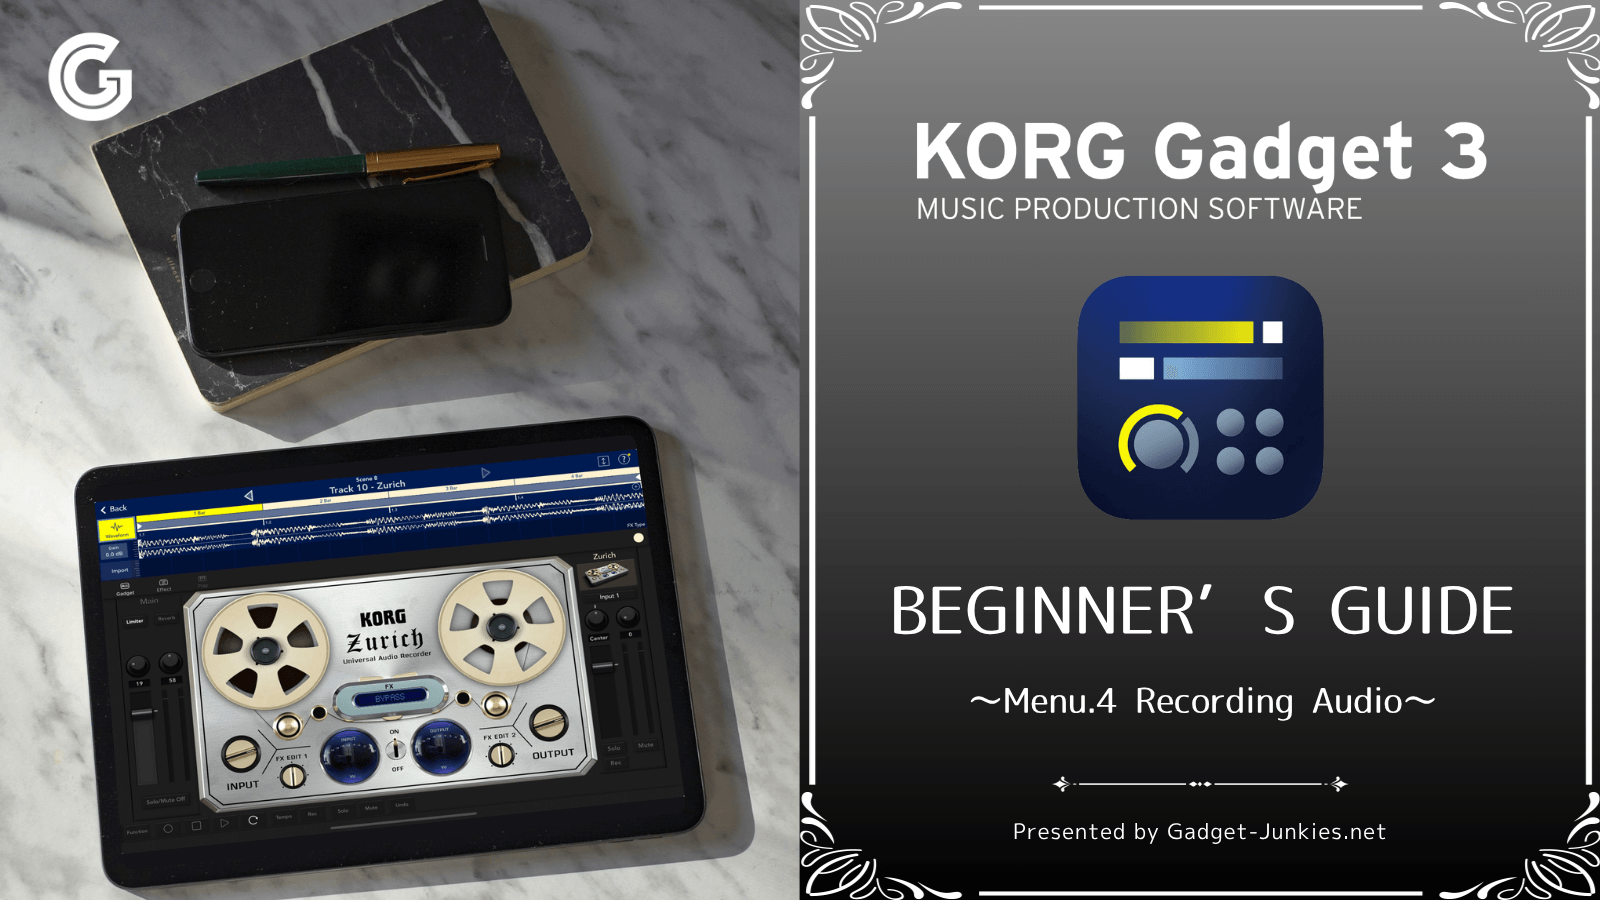
The audio track was recorded using the versatile recorder "Zurich"

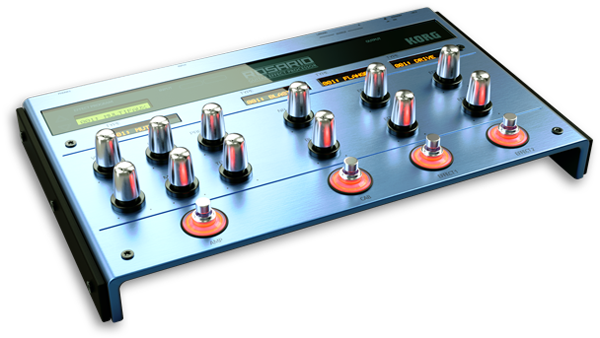
Guitar amp simulator "Rosario"
This can be achieved with the bass amp simulator "Durban".

The Rosario and Durban offer a wide range of amp simulators and distortion effects, while the Zurich is suitable for a wide range of recordings, including vocals.
Let's try audio recording
From here, I will try my hand at recording audio in Zurich.
Let's start in Zurich
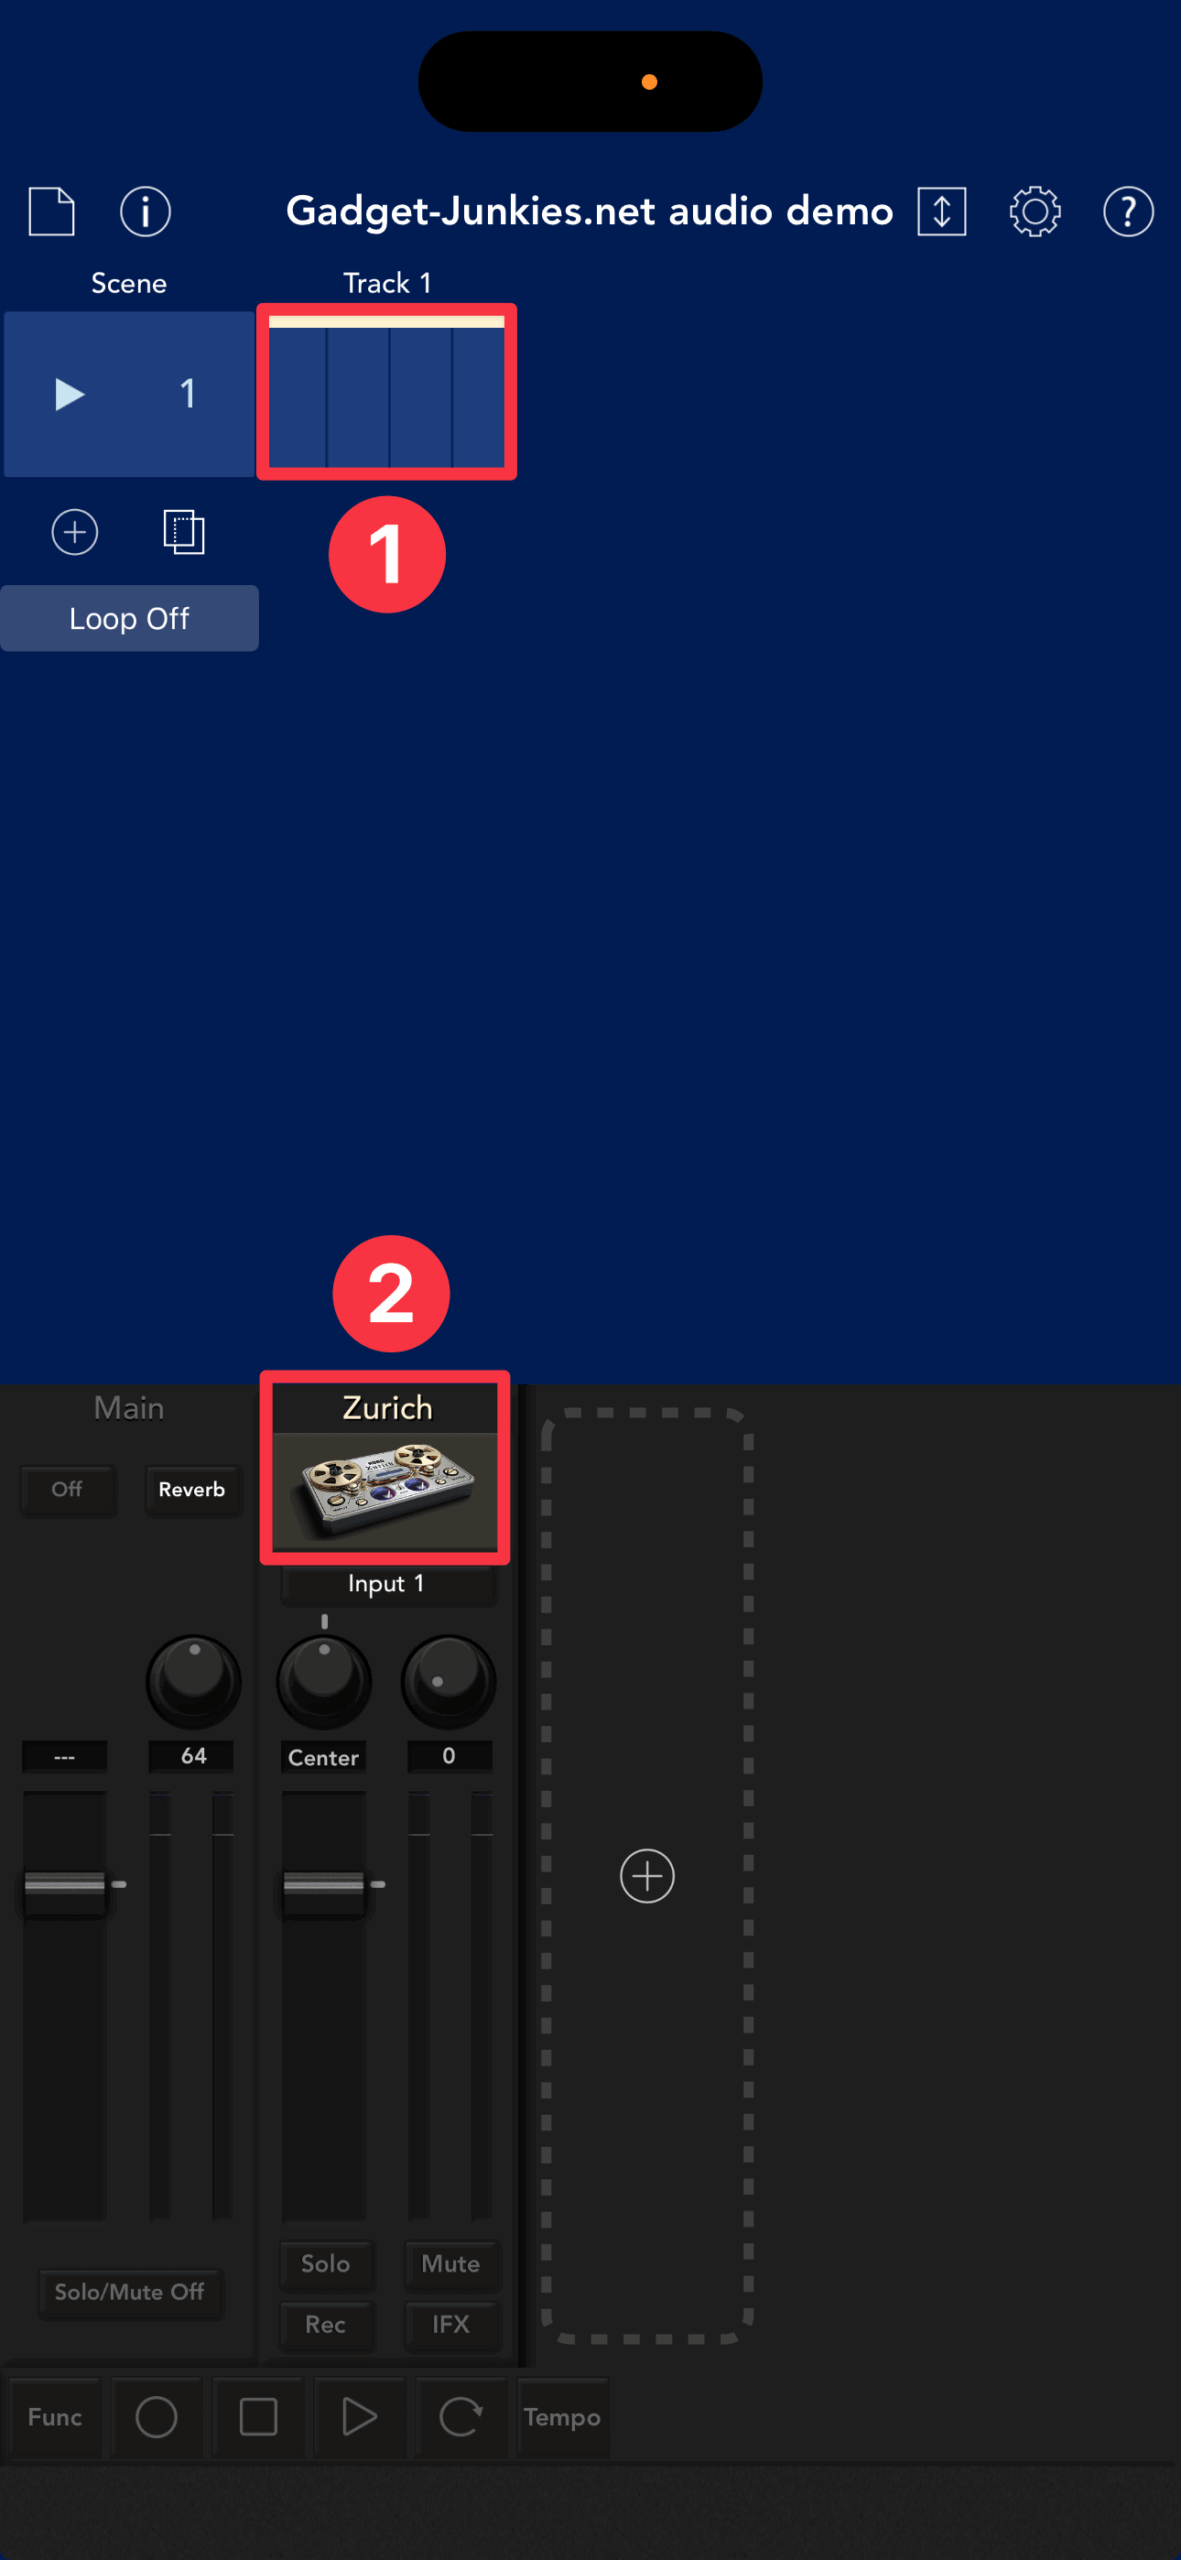
First, select Zurich in the gadget selector.

Zurich is now running on track 1. Tap clip ① or the Zurich icon ②.
Mute the audio track before recording
You'll want to start recording with the built-in microphone, but if you're not using earphones or headphones, you'll need to mute the audio from your iOS device.
This is because sound can loop between your iOS device's microphone and speaker, causing feedback.
Feedback not only prevents proper recording, but it can also have a negative impact on your speakers and ears, so it's important to prevent it. There are two ways to do this:
- Muting tracks while recording.
- When recording, set the volume on your iPad or iPhone to zero.
It can be a pain to have to turn down the volume on your device every time you want to record, so we recommend keeping it muted.
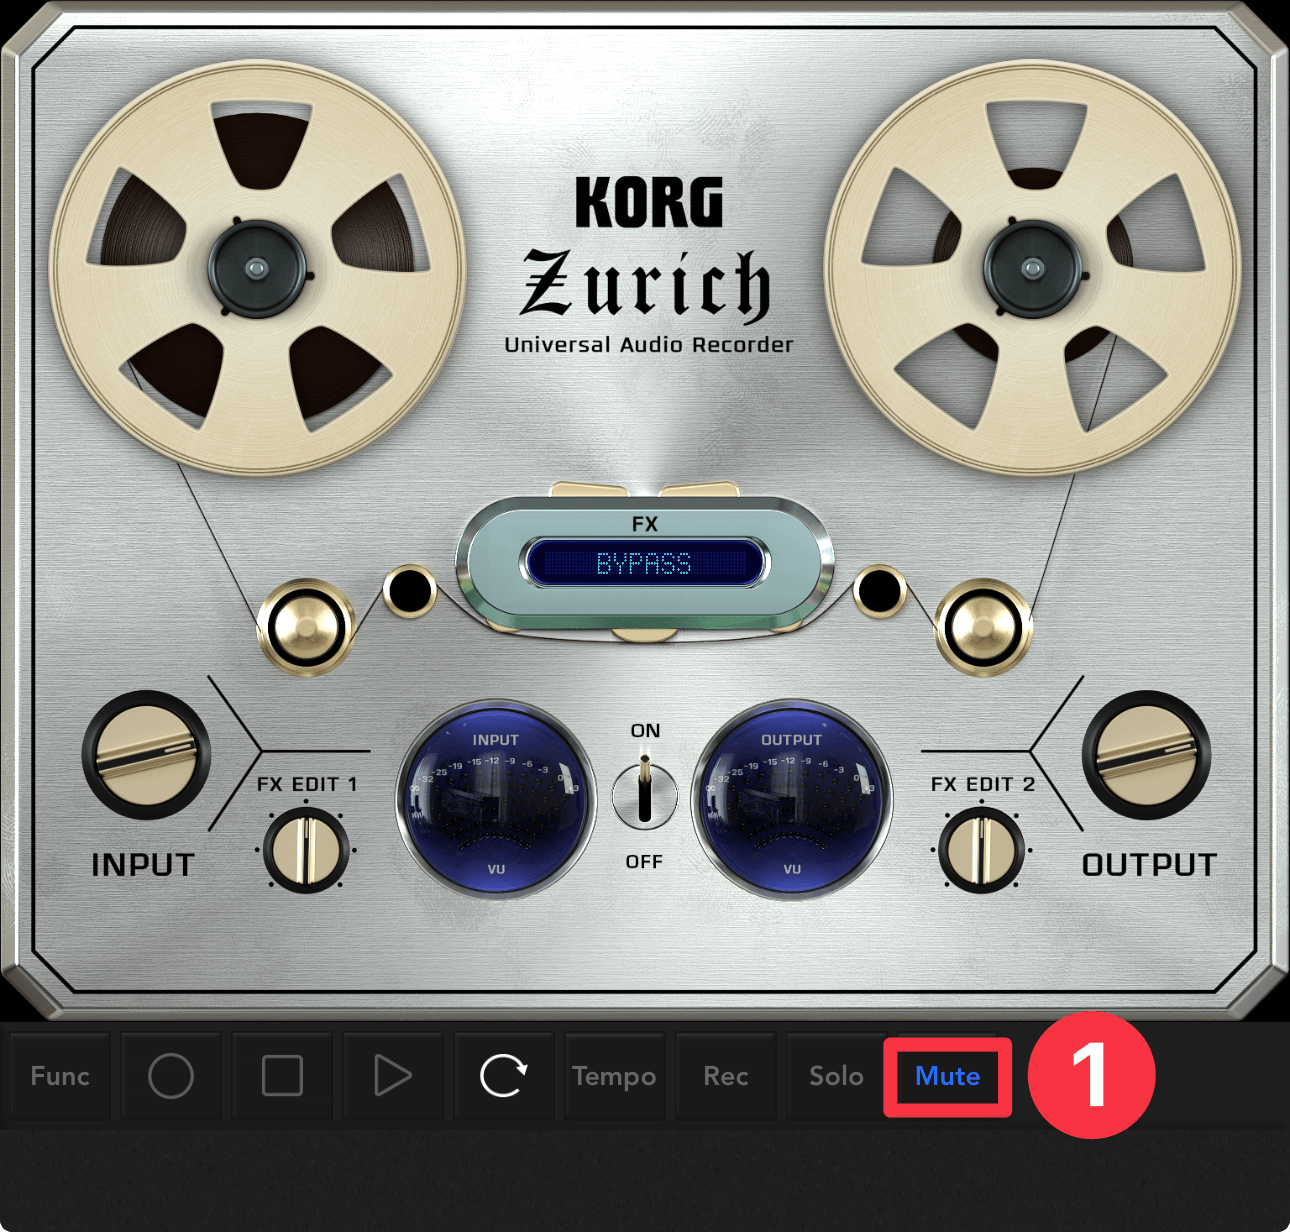
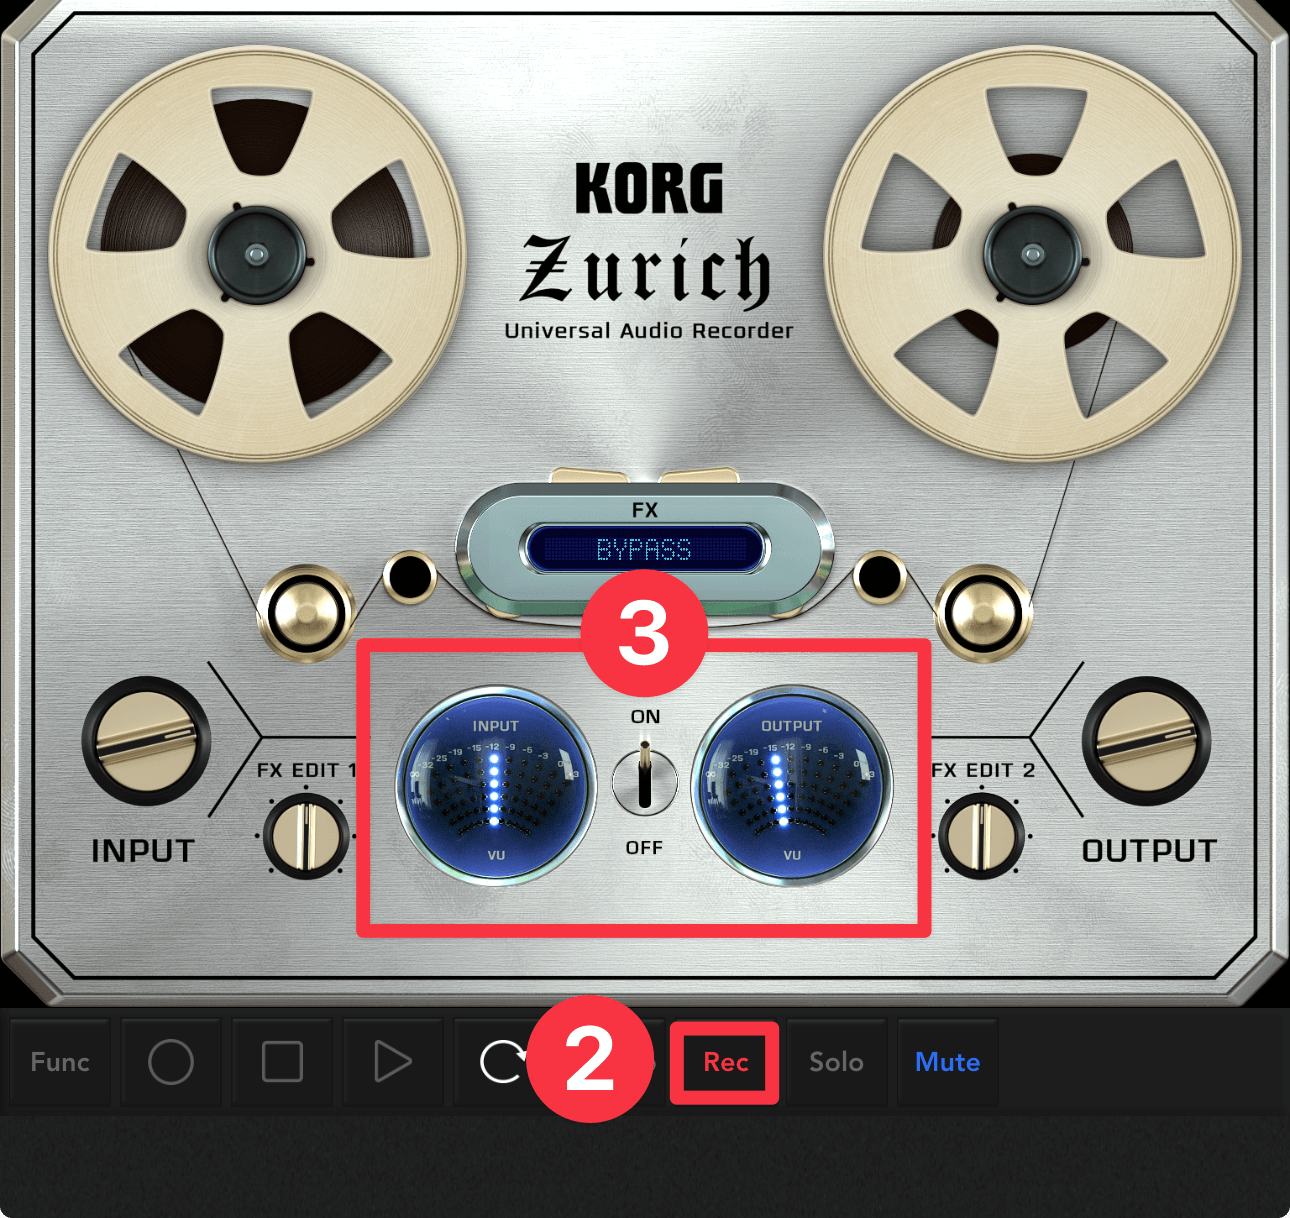
First, tap the mute button ①.
If you use headphones, the speakers will be turned off, so there is no need to mute them.
Put an audio track into record mode
Tap the Record button ②. Speak into the microphone and when the INPUT/OUTPUT VU meter ③ changes, you are ready to record.
Start recording with your iOS device's built-in microphone
Tap the Record button ④ → Play button ⑤ on the Transport to start recording ⑥.
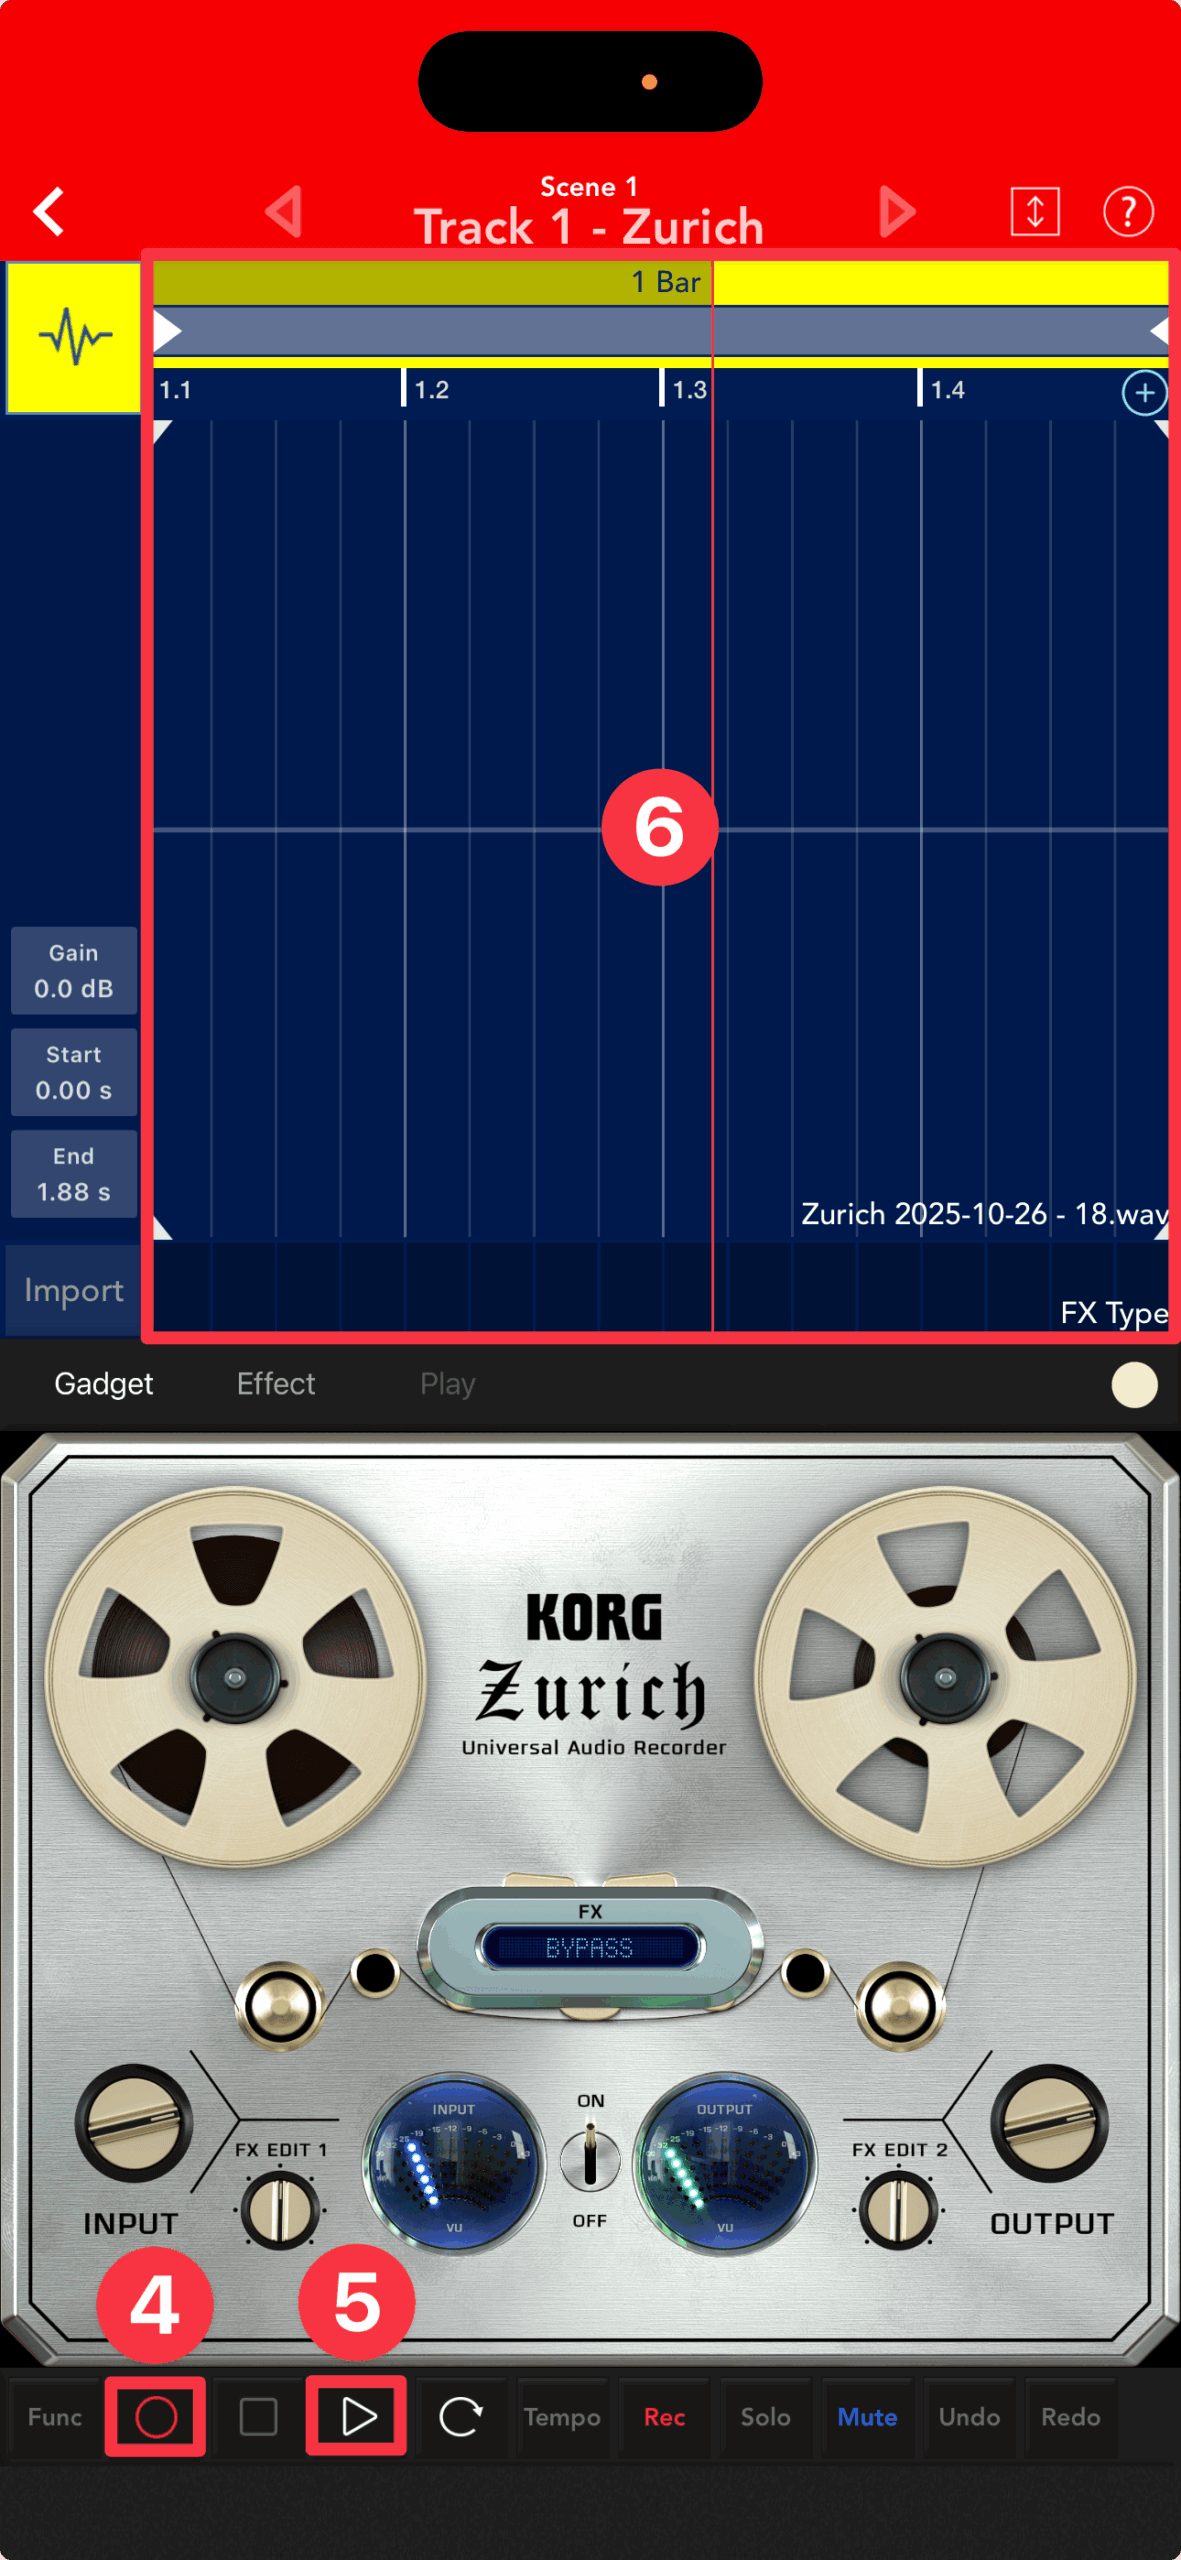
To end recording
To stop recording, tap "Stop □", to cancel recording mode, tap "Record ○", and to pause, tap "Play ▷".
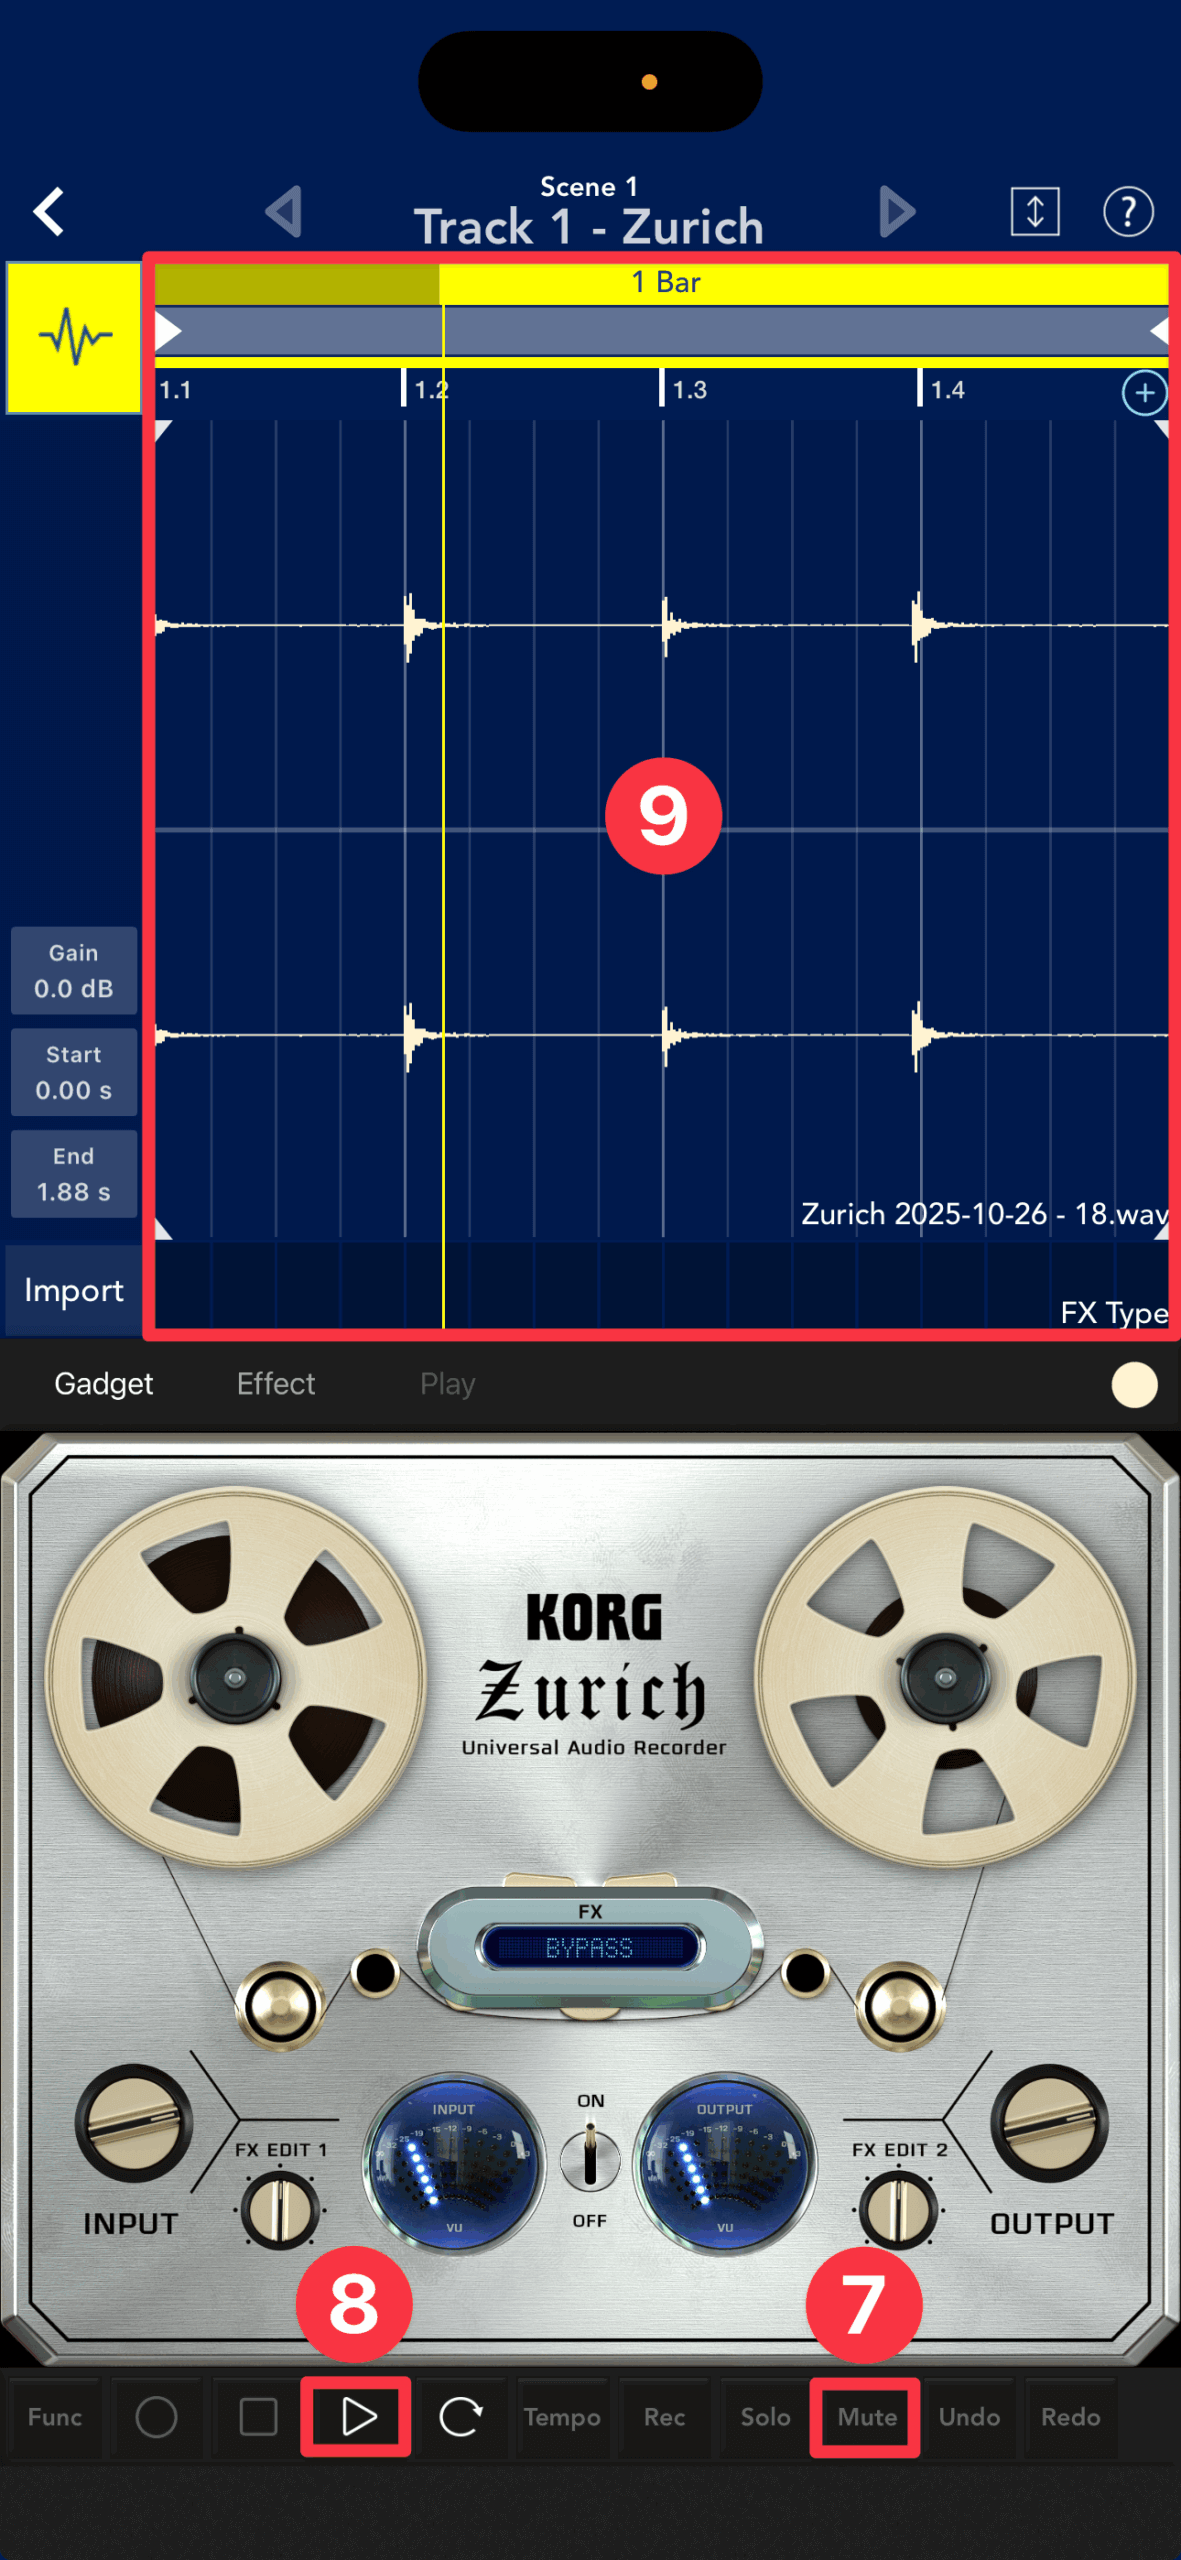
Next, unmute ⑦ and tap Play ▷ ⑧ to preview the audio track ⑨.
To adjust the recording level
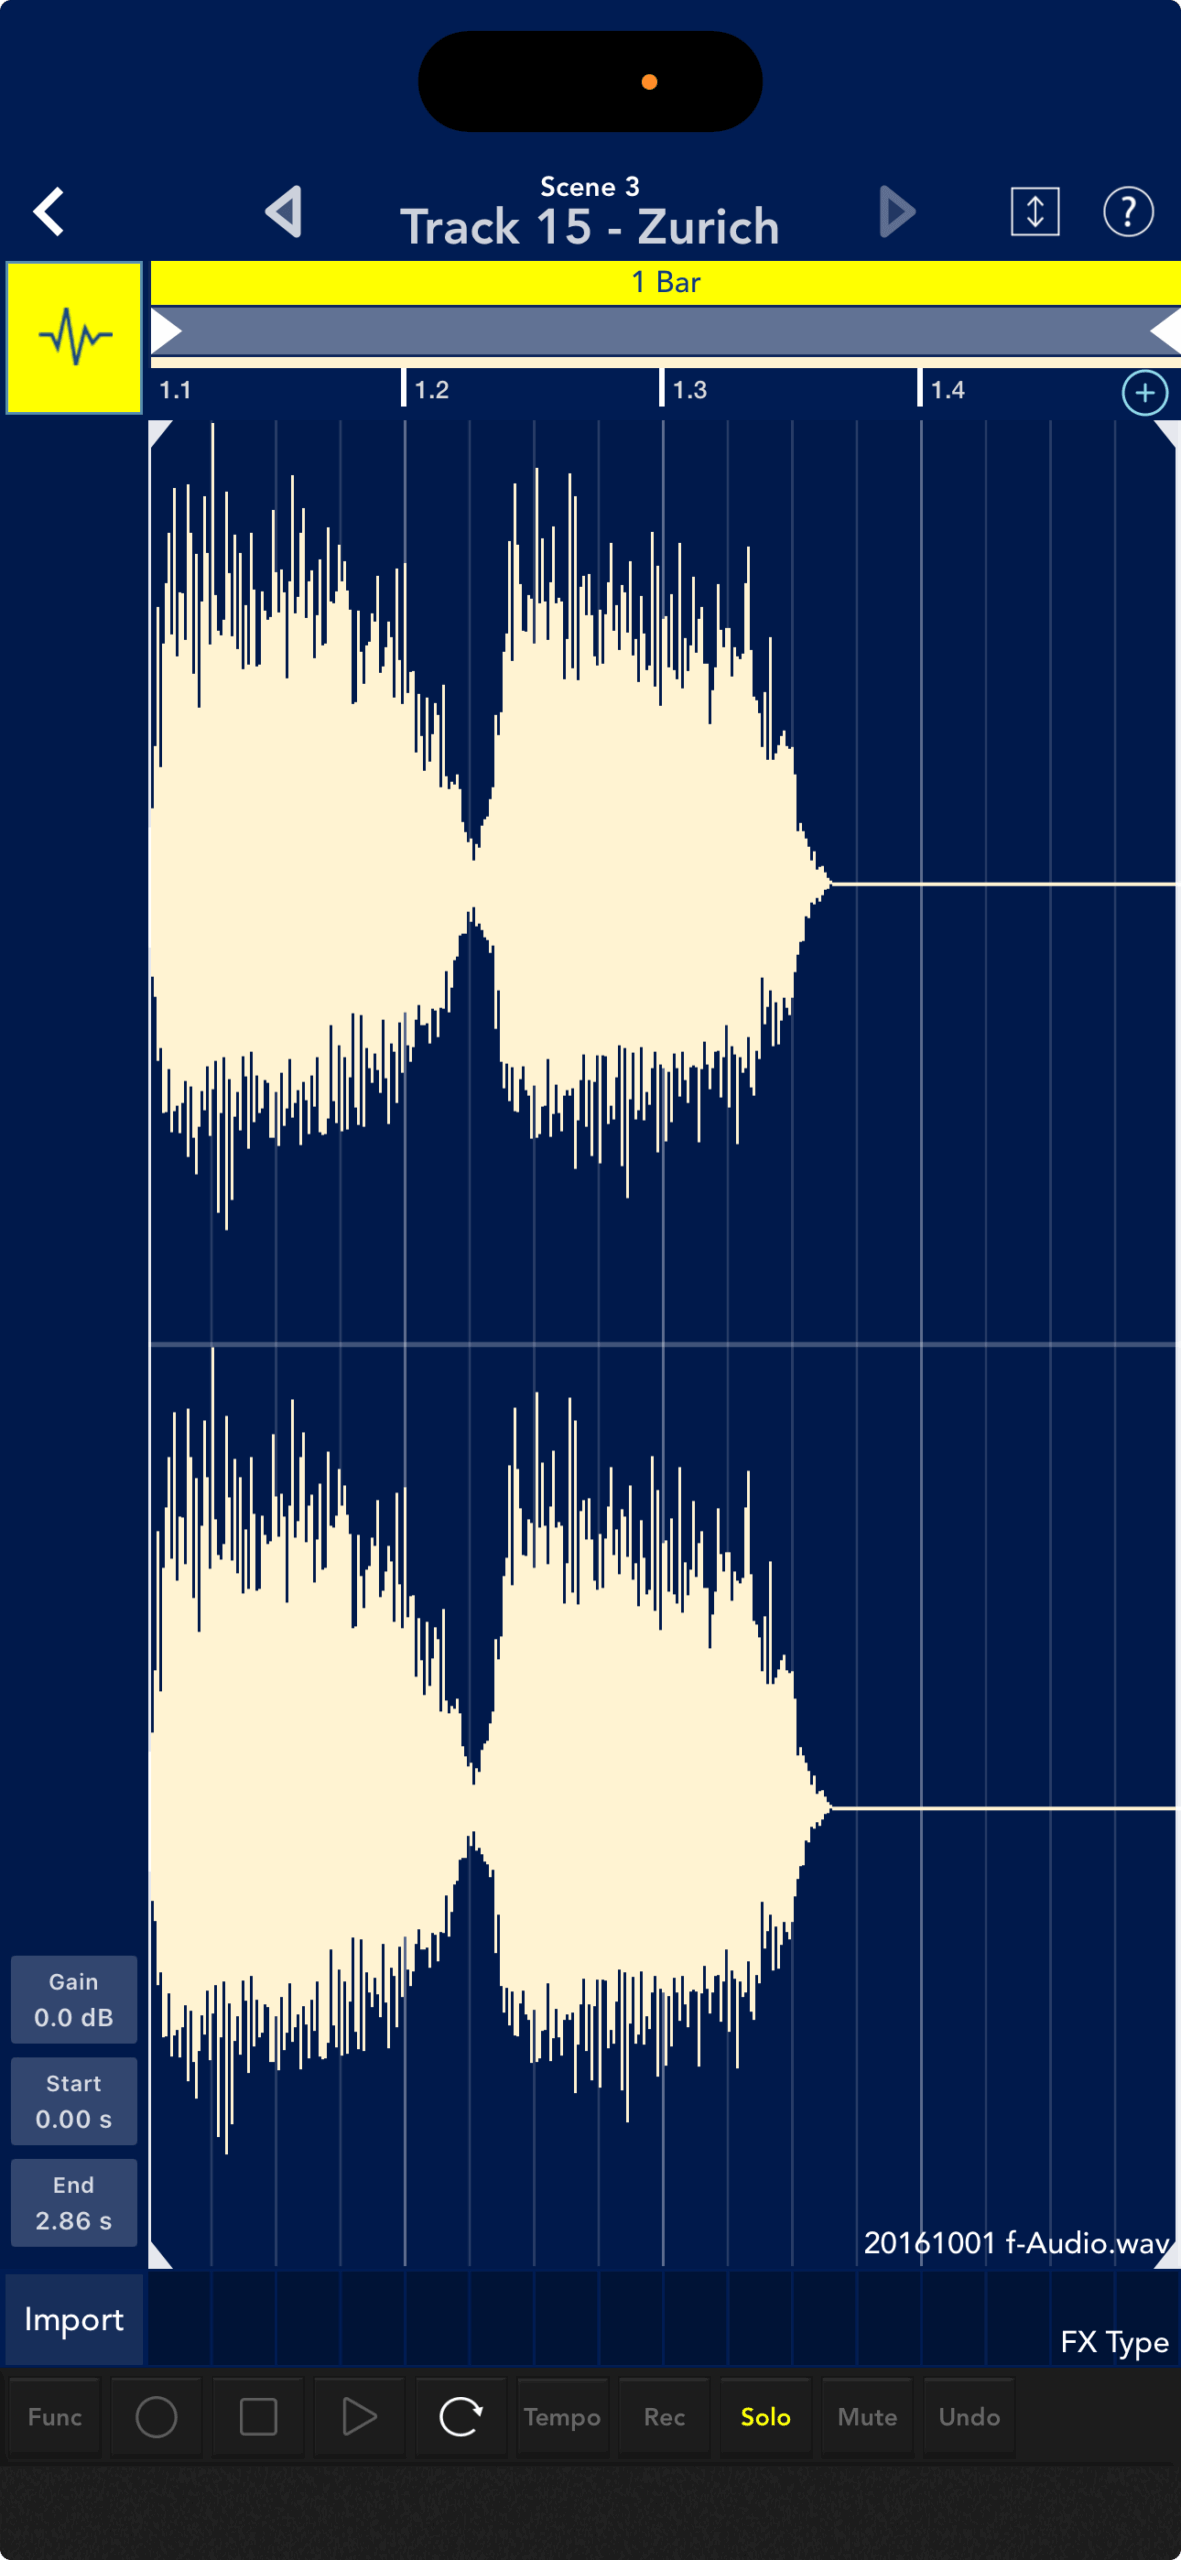
Now, this is the audio waveform I recorded.

We were able to record, but what do you think when you look at this waveform?
This is a failed example where the recording environment was poor and the volume was recorded very low.
We could force the volume up later, but noise would also be picked up, and a degradation in sound quality would be unavoidable.
There are two main reasons why this happens.
- Zurich input level is too low
- The volume of the audio source is too low
Problem ① can be improved by turning up the INPUT knob on the Zurich.
While playing the sound you want to record, adjust the INPUT knob ⑩ and start recording when the INPUT VU meter is fluctuating steadily.
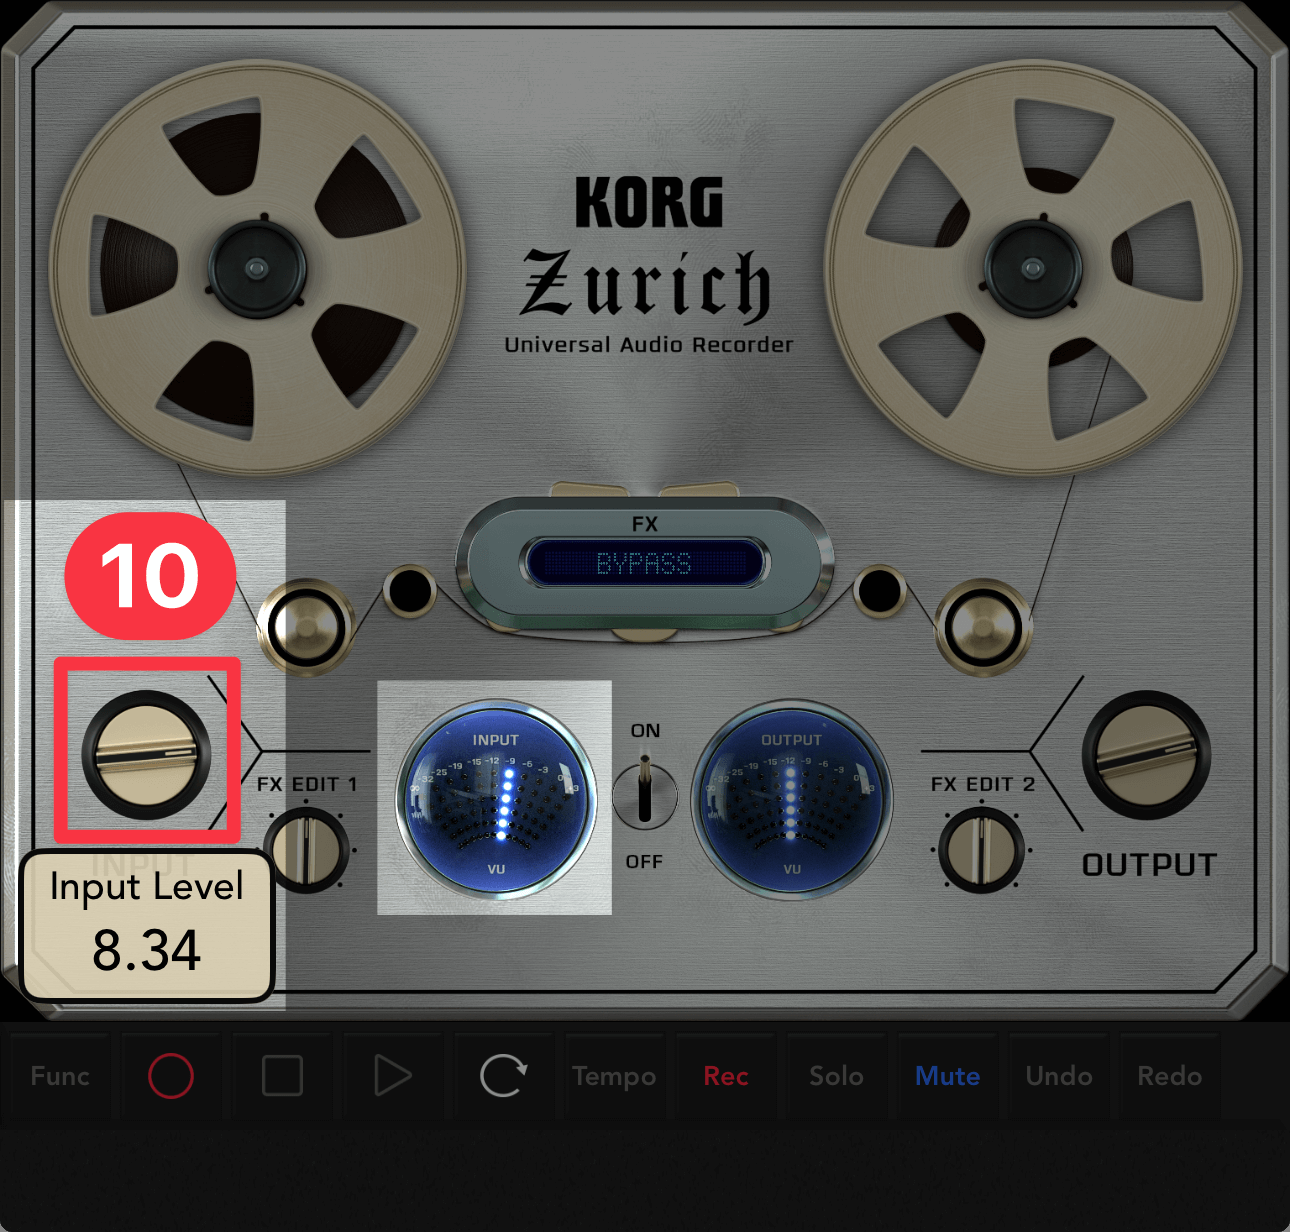
However, if the volume of your vocals or guitar is too low, turn them up.
Conversely, if the INPUT level is too high, the sound will distort, so keep an eye on the VU meter and find a level that's neither too high nor too low.
Using an external microphone or audio interface
This time we explained how to record audio using only an iPhone or iPad.
Next, we'll introduce dedicated microphones and audio interfaces that can be connected to iOS devices for those who want to record with higher sound quality or use their usual microphone.
iPhone/iPad microphone
Various companies sell dedicated microphones that can be connected to Lightning or USB Type-C connectors.
For example, the ZOOM iQ7 is a compact stereo microphone that supports a Lightning connector and transforms into a recorder when connected to an iPhone.
These dedicated microphones can be used not only for recording with music production apps such as KORG Gadget, but also for field recording while on the go, making them extremely useful for gathering sound ideas that can be used in your songs.
Audio interface for iPhone and iPad
If you're producing music in a DAW, you may already be using a high-quality condenser microphone, or you may want to record your favorite electric guitar or external synthesizer via a line input.
If you are one of those people, consider purchasing an audio interface like the ZOOM AMS-22.
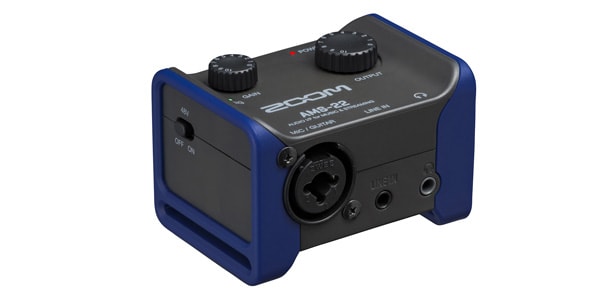
This unit is USB Type-C compatible, so it can be connected not only to iPads and iPhones but also to PCs, so it can also be used with KORG Gadget 3 for Mac.
If you connect it to a MacBook, it will come in handy for live performances, and I think it's a very convenient piece of equipment.
In the first installment of the "Let's Record Audio" series, we introduced how to record vocals, guitar, and more.
We'll continue to share tips on how to get the most out of your audio tracks, including waveform editing techniques and importing audio files.