KORG Gadget does not require any complicated initial setup. You can start making music right away… However, to make your track-making experience more enjoyable, there are a few useful settings to know beforehand. In this article, we will explain the initial setup that beginners should check first.
First, let's learn about these two types of KORG Gadget settings screens!
There are two ways to configure KORG Gadget: within the app itself and via the iOS settings icon.
① In-app settings
Tap the gear button in the top right corner of the main screen and a pop-up titled "Settings" will appear.

These are settings for using Bluetooth controllers such as the nanoKEY Studio or microKEY Air, as well as MIDI settings. These are not the default settings; configure them as needed.
② iOS settings
Compared to ①, a wider range of settings are possible. In this article, we will introduce the settings available here.
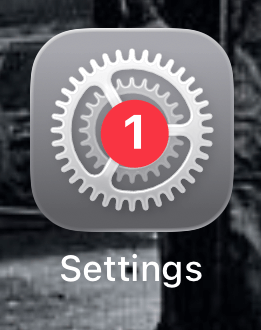
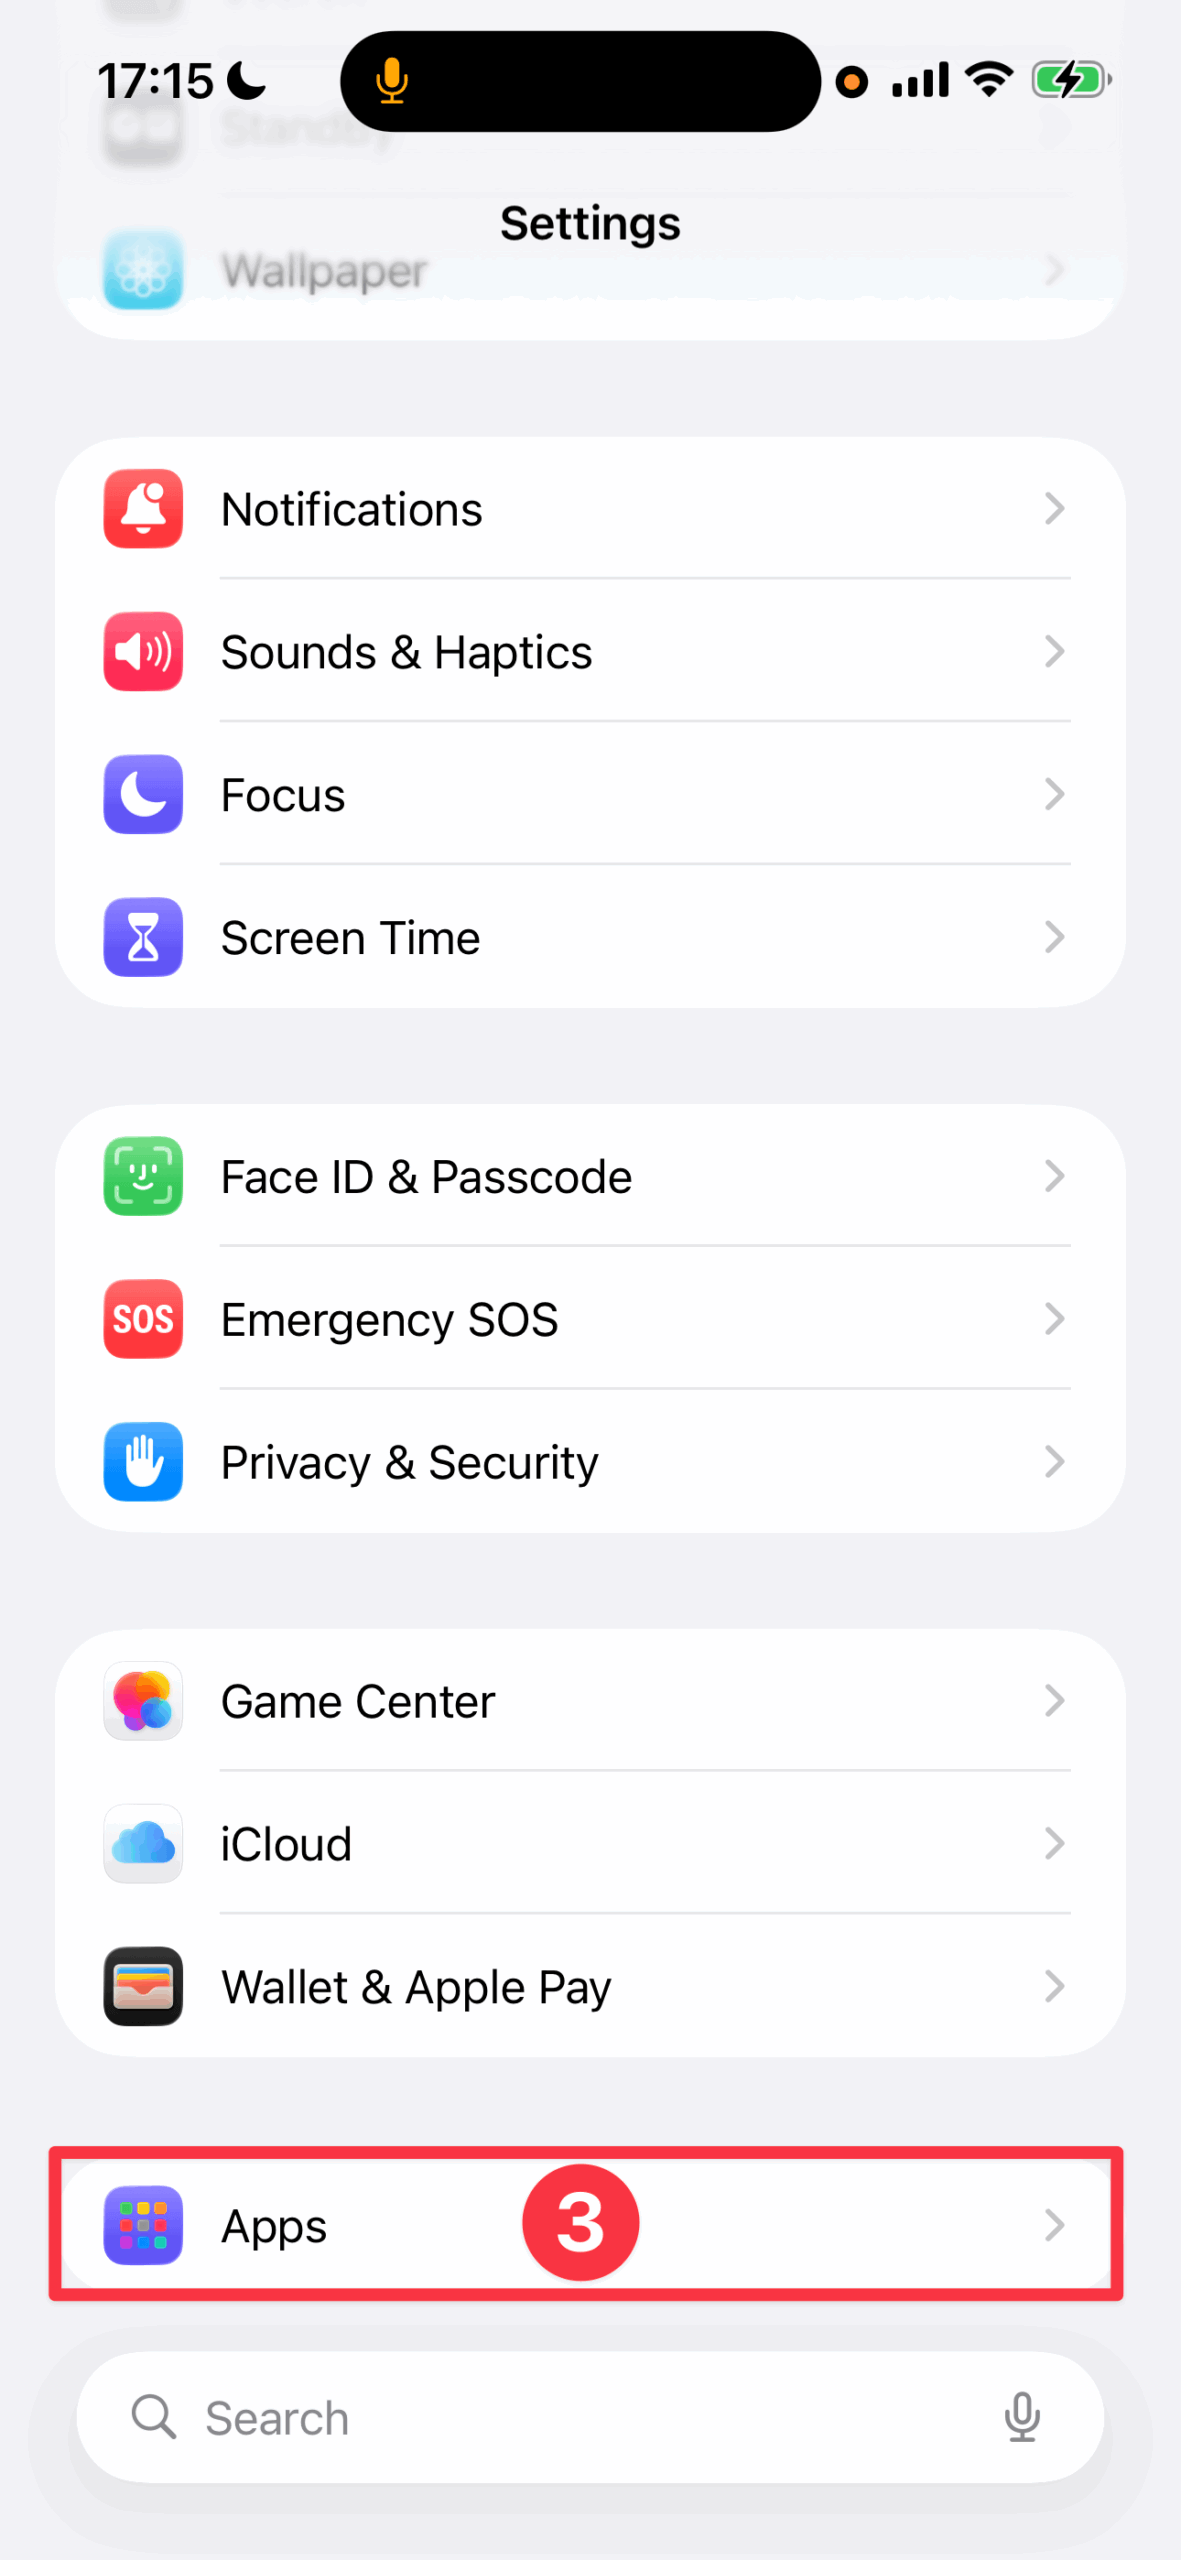
To access the KORG Gadget settings screen, tap the iOS settings icon ① just like any other app.
On the Settings screen, scroll down ② and tap Apps ③ at the bottom.

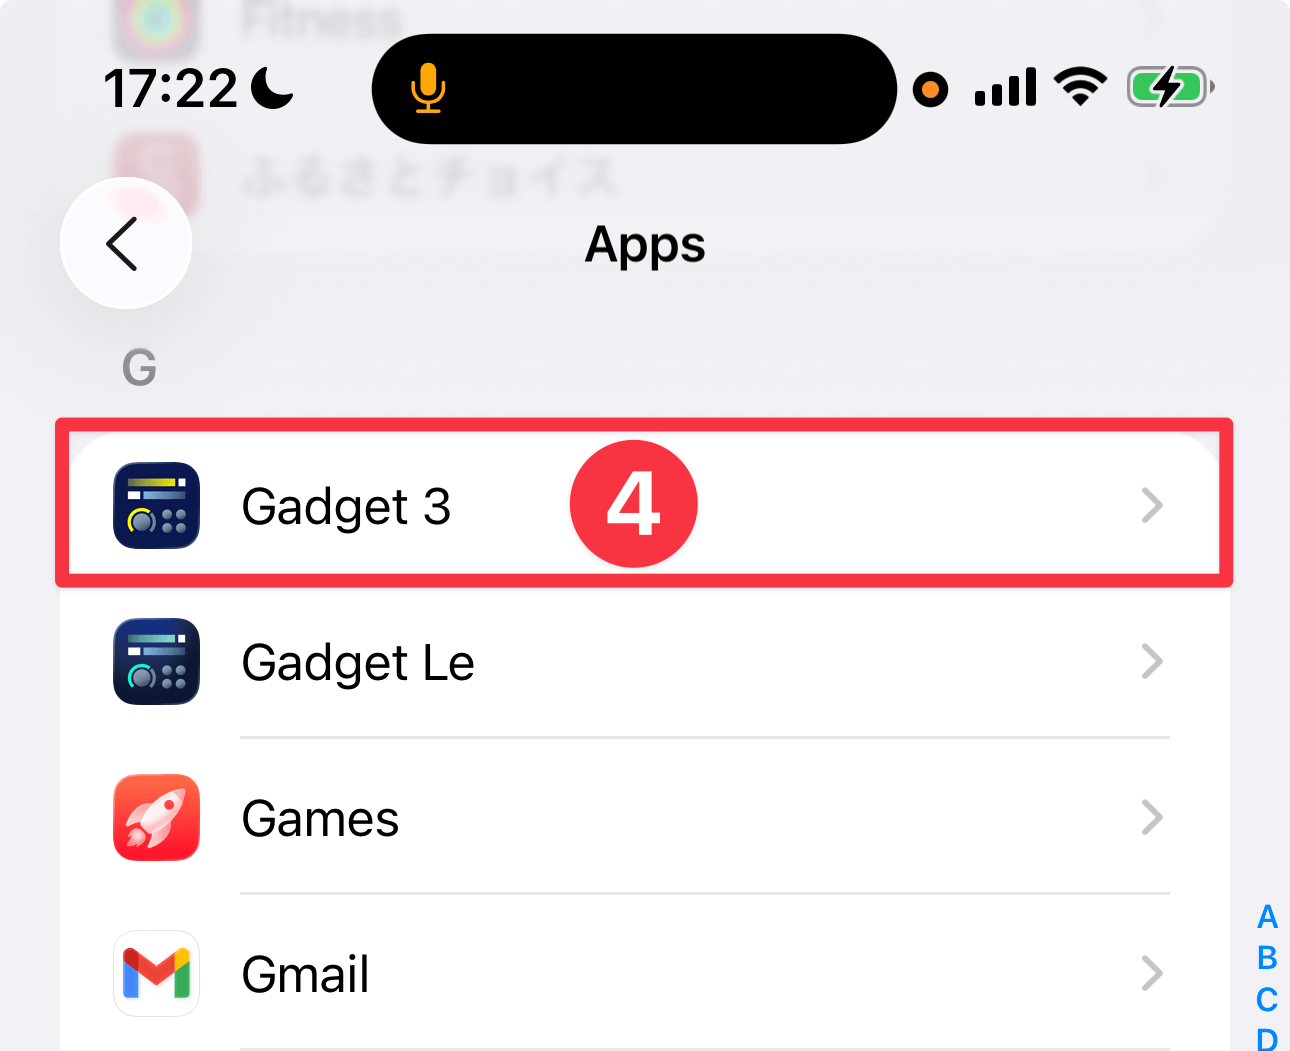
Find and tap Gadget 3 (④) to switch to the KORG Gadget settings screen (⑤).

To access this setting from the Gadget app, tap the Settings button ① to display the popup, then tap Other Settings ② at the bottom.
"KORG Gadget" initial settings list (3-level rating)
From here, we will explain the initial setting items for KORG Gadget.
Items that you must check are marked with a ◎. Items that you should pay attention to are marked with a ◯ or △, so please refer to them.
◎ Audio Latency | Buffer Size Settings
Determines the buffer size for the entire KORG Gadget.
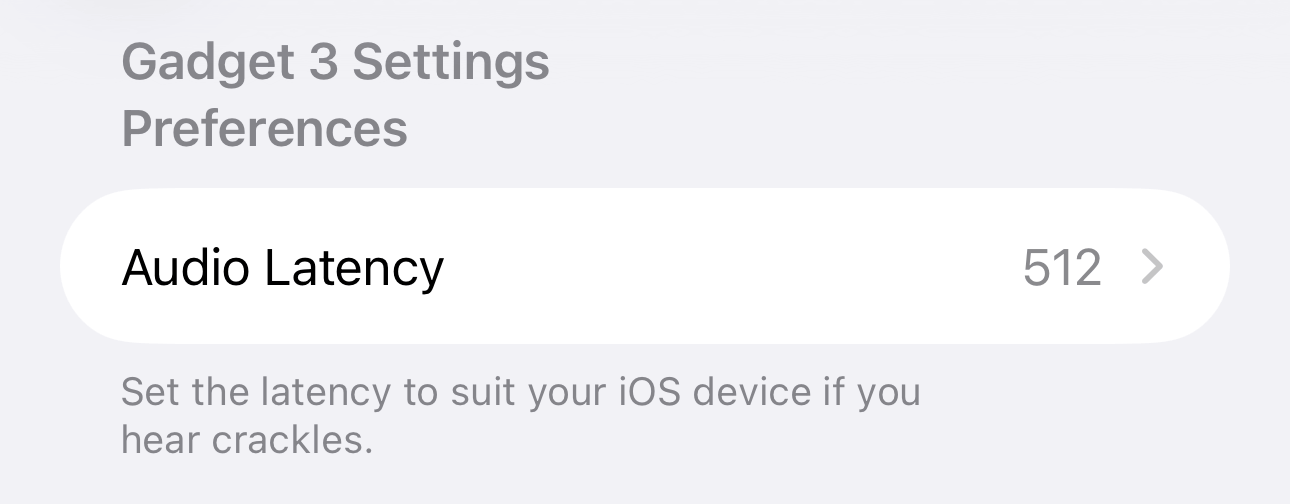
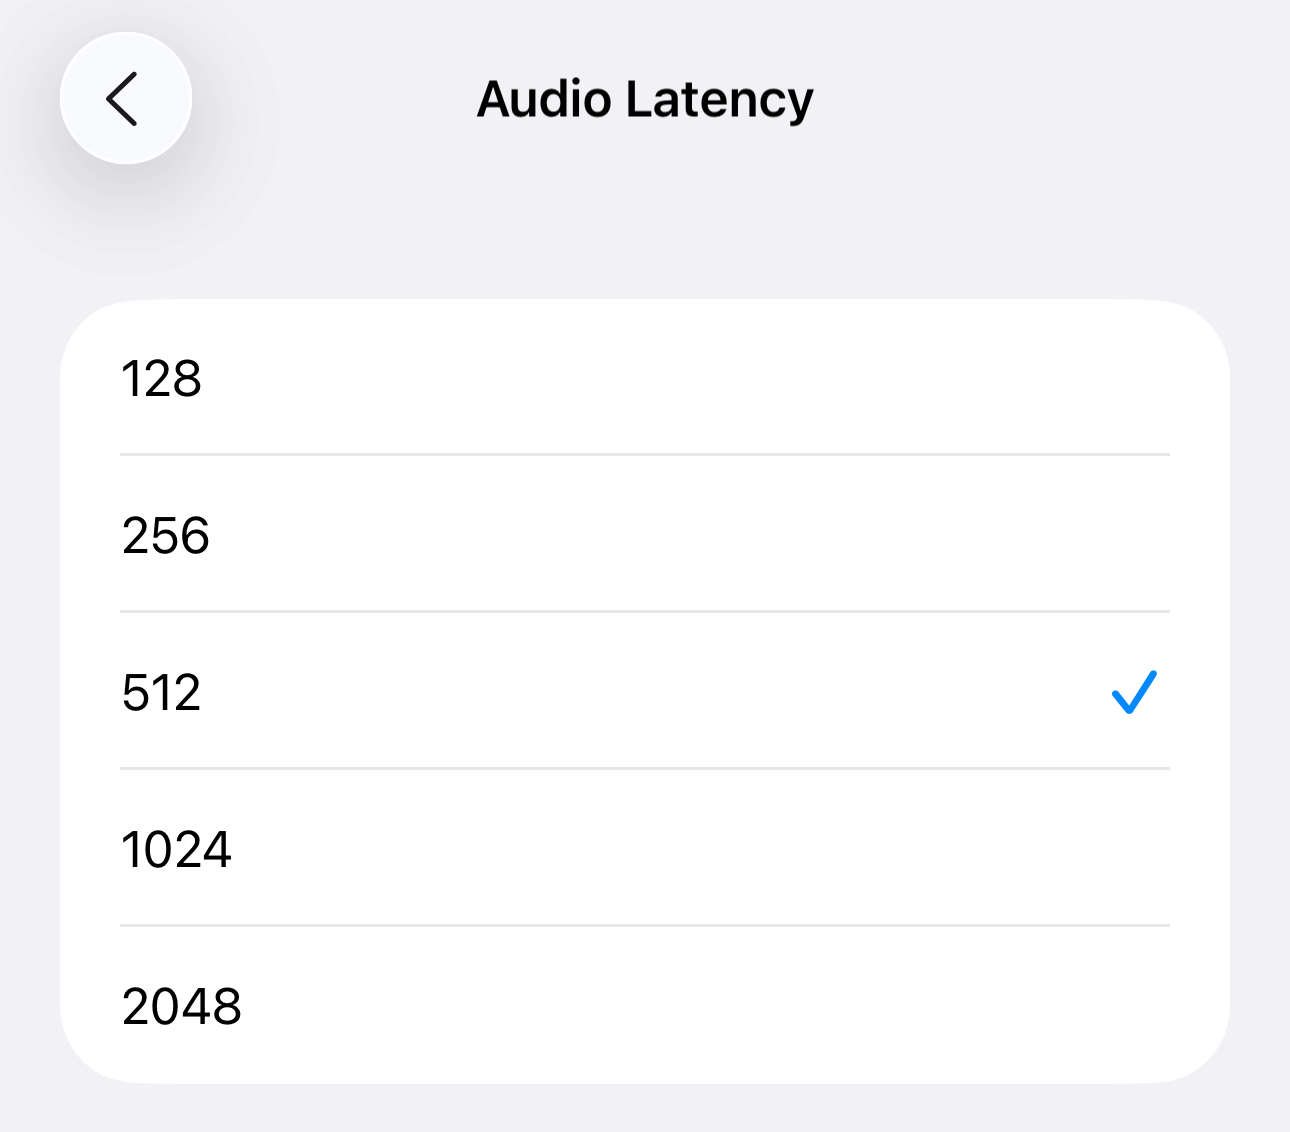
To select a buffer size, tap Audio Latency.
The unit is "samples." The buffer is an area that temporarily stores audio data to be processed by the CPU.
A larger buffer size reduces CPU load and allows more tracks to be played simultaneously. This can be useful when using older iPads or iPhones.
However, it also slows down the response time between pressing a key and hearing the sound. This is known as "high latency."
Conversely, a smaller buffer size will reduce latency and improve response times.
However, it will also increase CPU load and may cause noise or dropouts on older iPads and iPhones.
It's a little complicated, so I've put it all together in a table.
| Setting value | Advantages/Disadvantages | |
|---|---|---|
| 128 | Fast response time when inputting ↑ | | | | ↓ Slow response when typing | Noise may occur ↑ | | | | ↓ Works on older devices too |
| 256 | ||
| 512 | ||
| 1024 | ||
| 2048 | ||
Unless you're using a very old iOS device, a buffer size of 512 will likely result in little to no dropouts or noticeable latency.
If you're using a newer model, or want lower latency for accurate performance, 256 or 128 should be sufficient. If you start to hear small noises during production, try increasing the buffer size.
◎ Background Audio|Preview possible even when switching apps
If you turn on background audio, the KORG Gadget sound will continue to play even when you switch to another app.
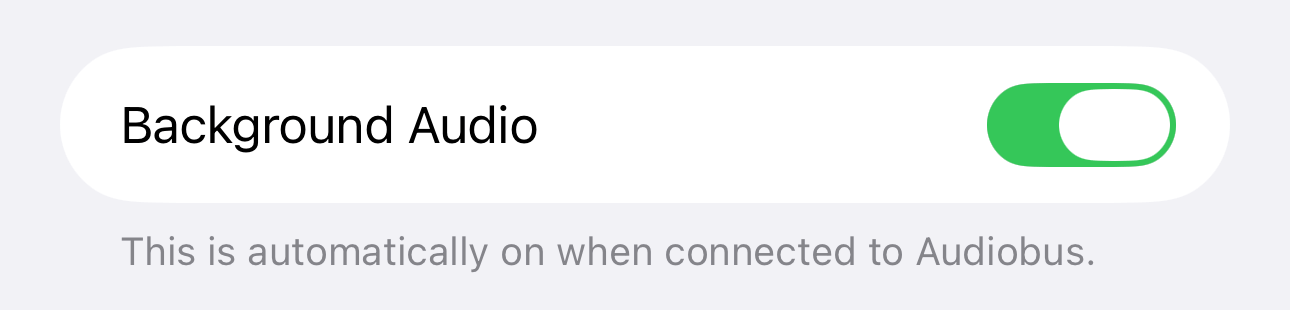
While it's convenient to be able to run Sound Check at any time, background processing can drain your battery faster.
△ Network MIDI|Synchronized playback within the same Wi-Fi network
Network MIDI is a technology that allows devices on the same Wi-Fi network to exchange MIDI signals.

For example, you can play a DAW on your PC and KORG Gadget on your iPhone at the same time.
This is a fascinating feature once you become familiar with the app, but if this is your first time producing music with KORG Gadget, you may not need this setting for a while.
◯ Metronom Count-in|Setting the metronome count
These are the metronome settings that must be made before starting real-time recording.
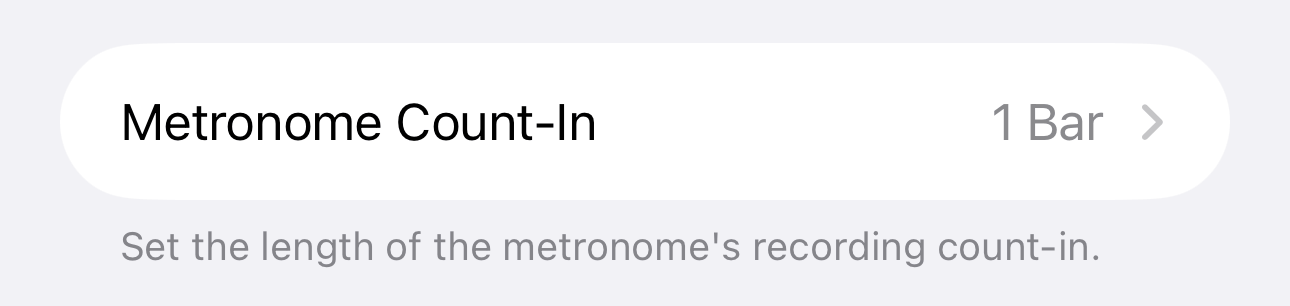
Tap Metronome Count-in to select the number of counts.
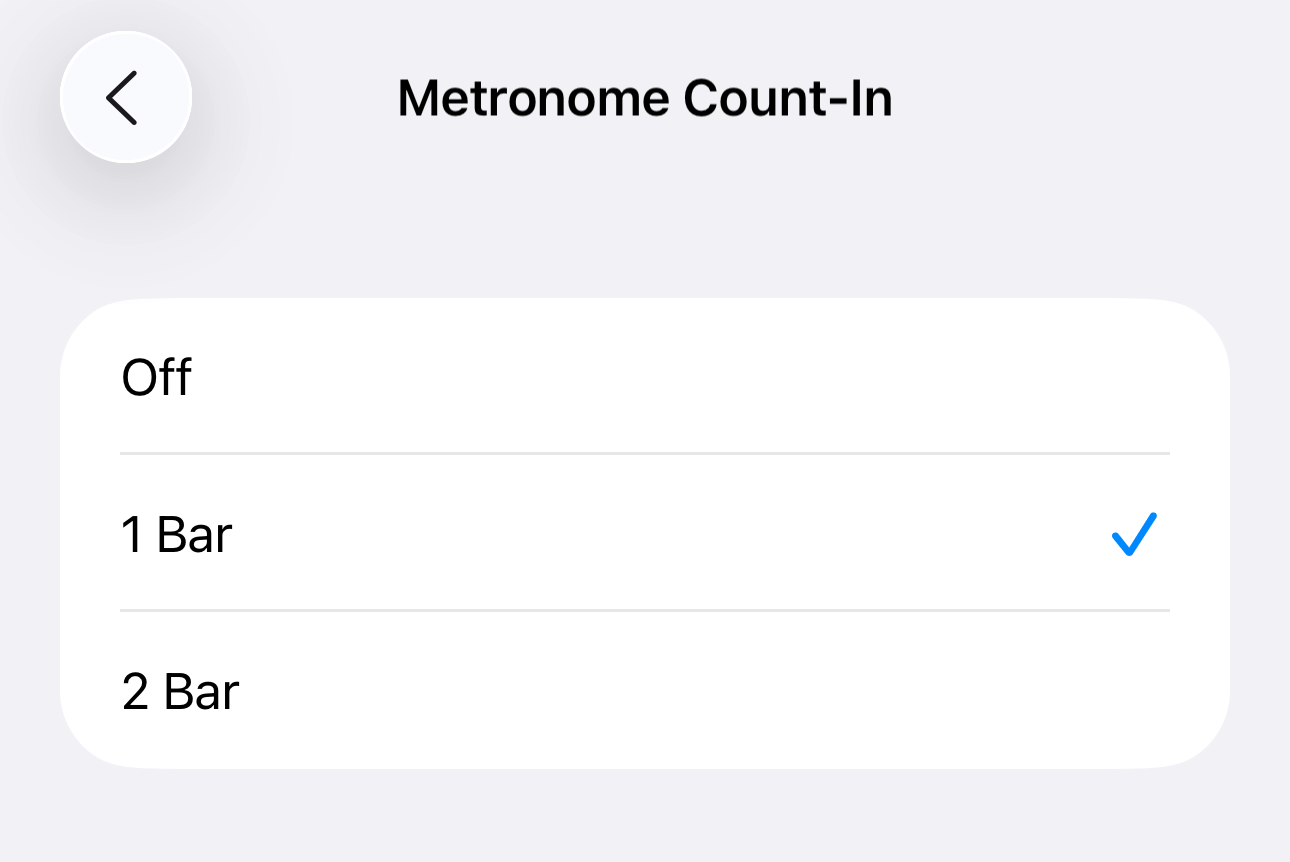
The default is 1 bar. If you want to record immediately, set it to Off, or if you want to record with more time to spare, set it to 2 bars.
◎ Knob Gesture|Choose how to turn the knob
This sets how the various knobs used in KORG Gadget are operated on the touch panel.
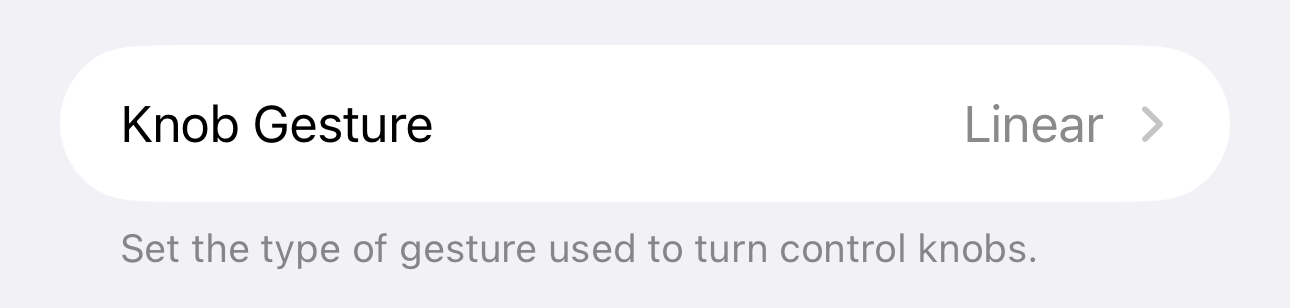
Tap Knob Gestures to choose how to move the knob.
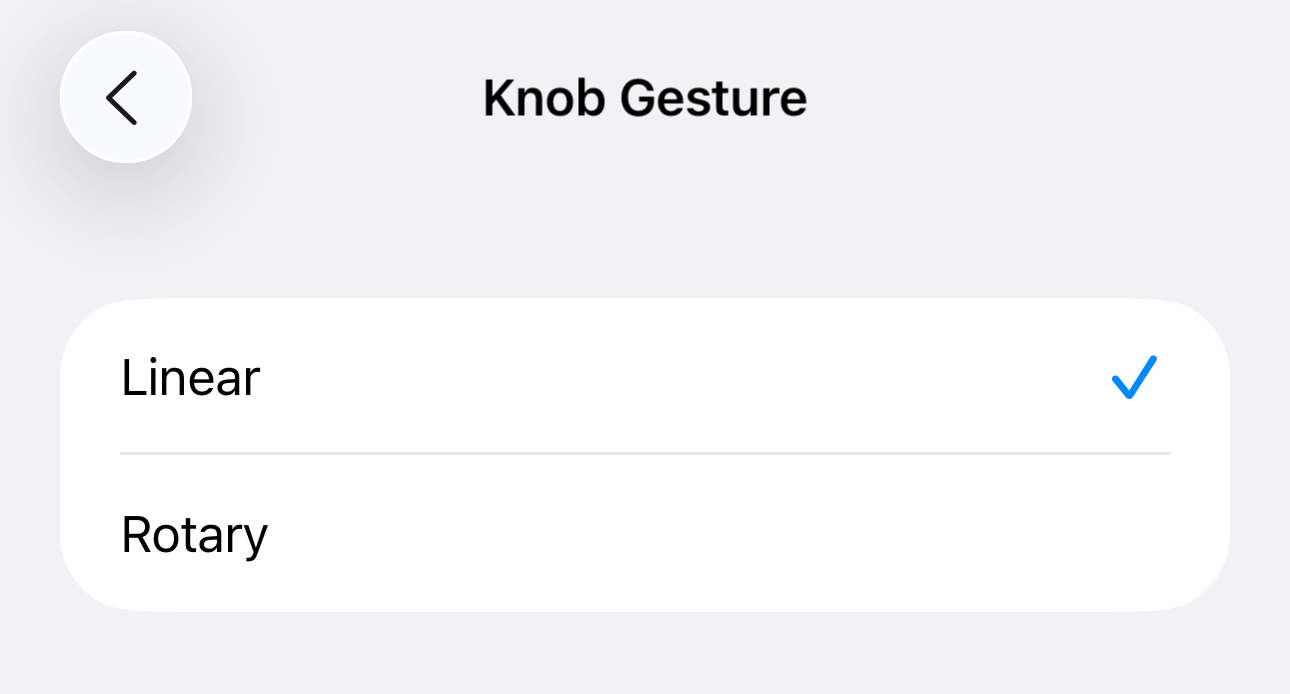
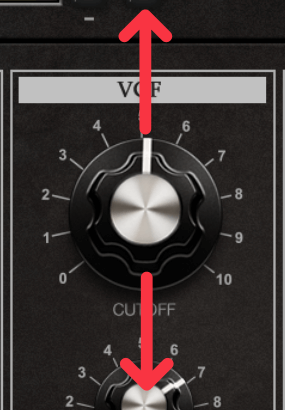
If you select Linear, you can rotate the knob by dragging it up or down.
If you set it to rotary, it will actually rotate when you turn the knob.
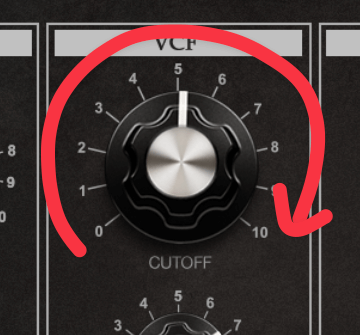
Rotation mode is more realistic, but can be difficult to control on smaller iPhones.
Try both rotation and linear mode to see which rotation method works best for you.
◯ Hide Status Bar
You can choose whether to display the iOS status bar.
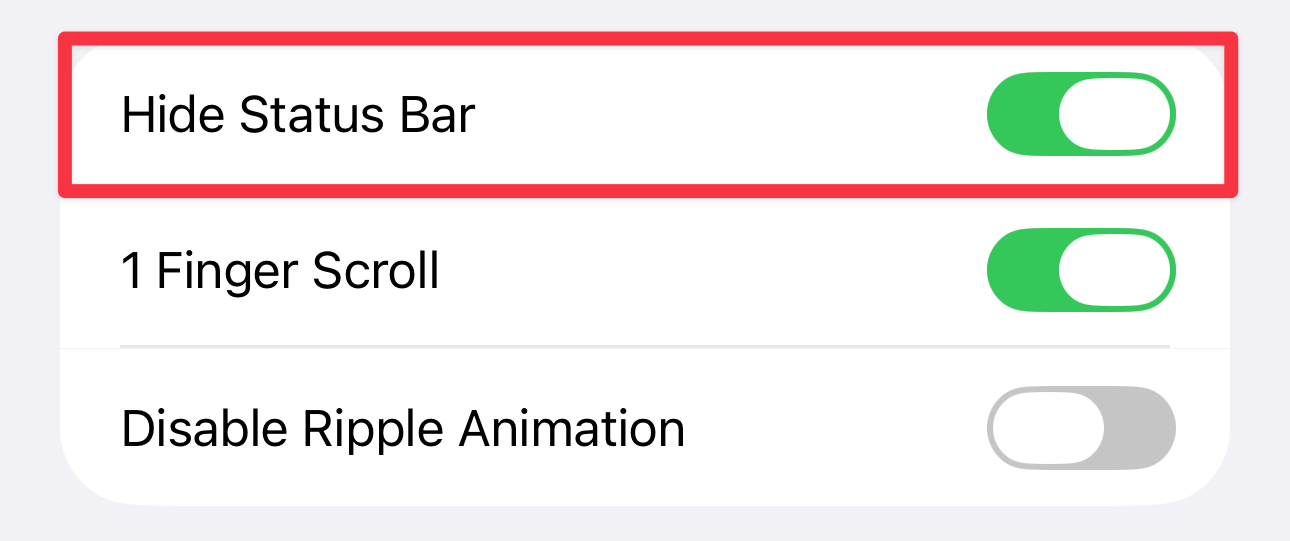


If you don't care about app usage time or battery life, it's best to leave it on.
◎ 1 Finger Scroll|Scrolling the piano roll with one finger
"One Finger Scrolling" selects how to scroll the screen.
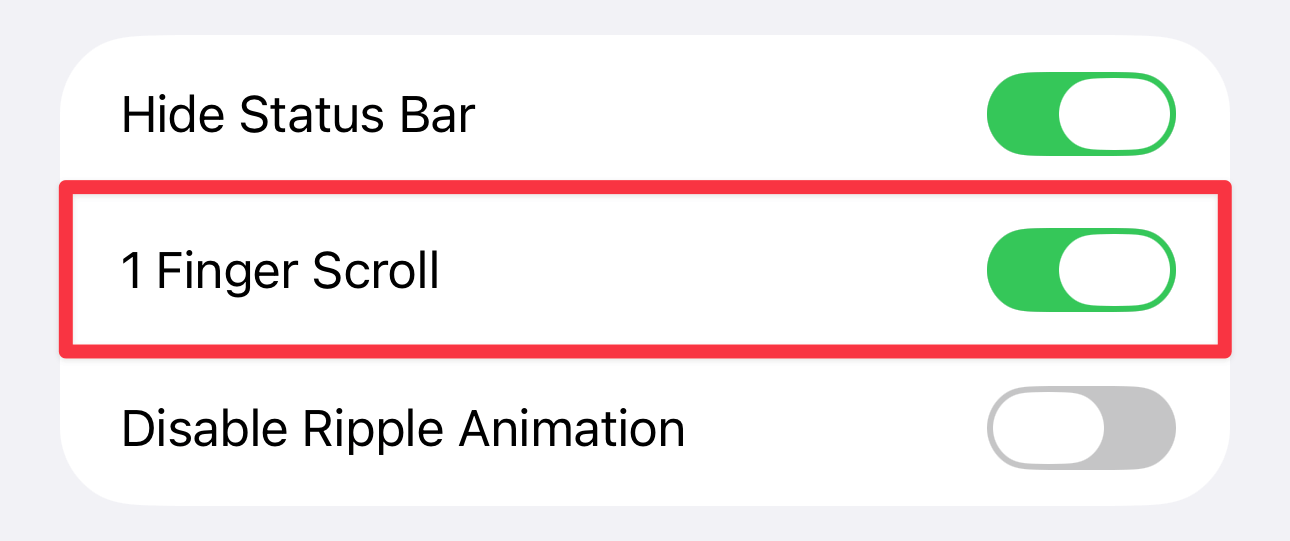
Set it to On for scrolling vertically or horizontally with one finger on the editing screen, or Off for scrolling with two fingers.

Each of these settings has its advantages and disadvantages.
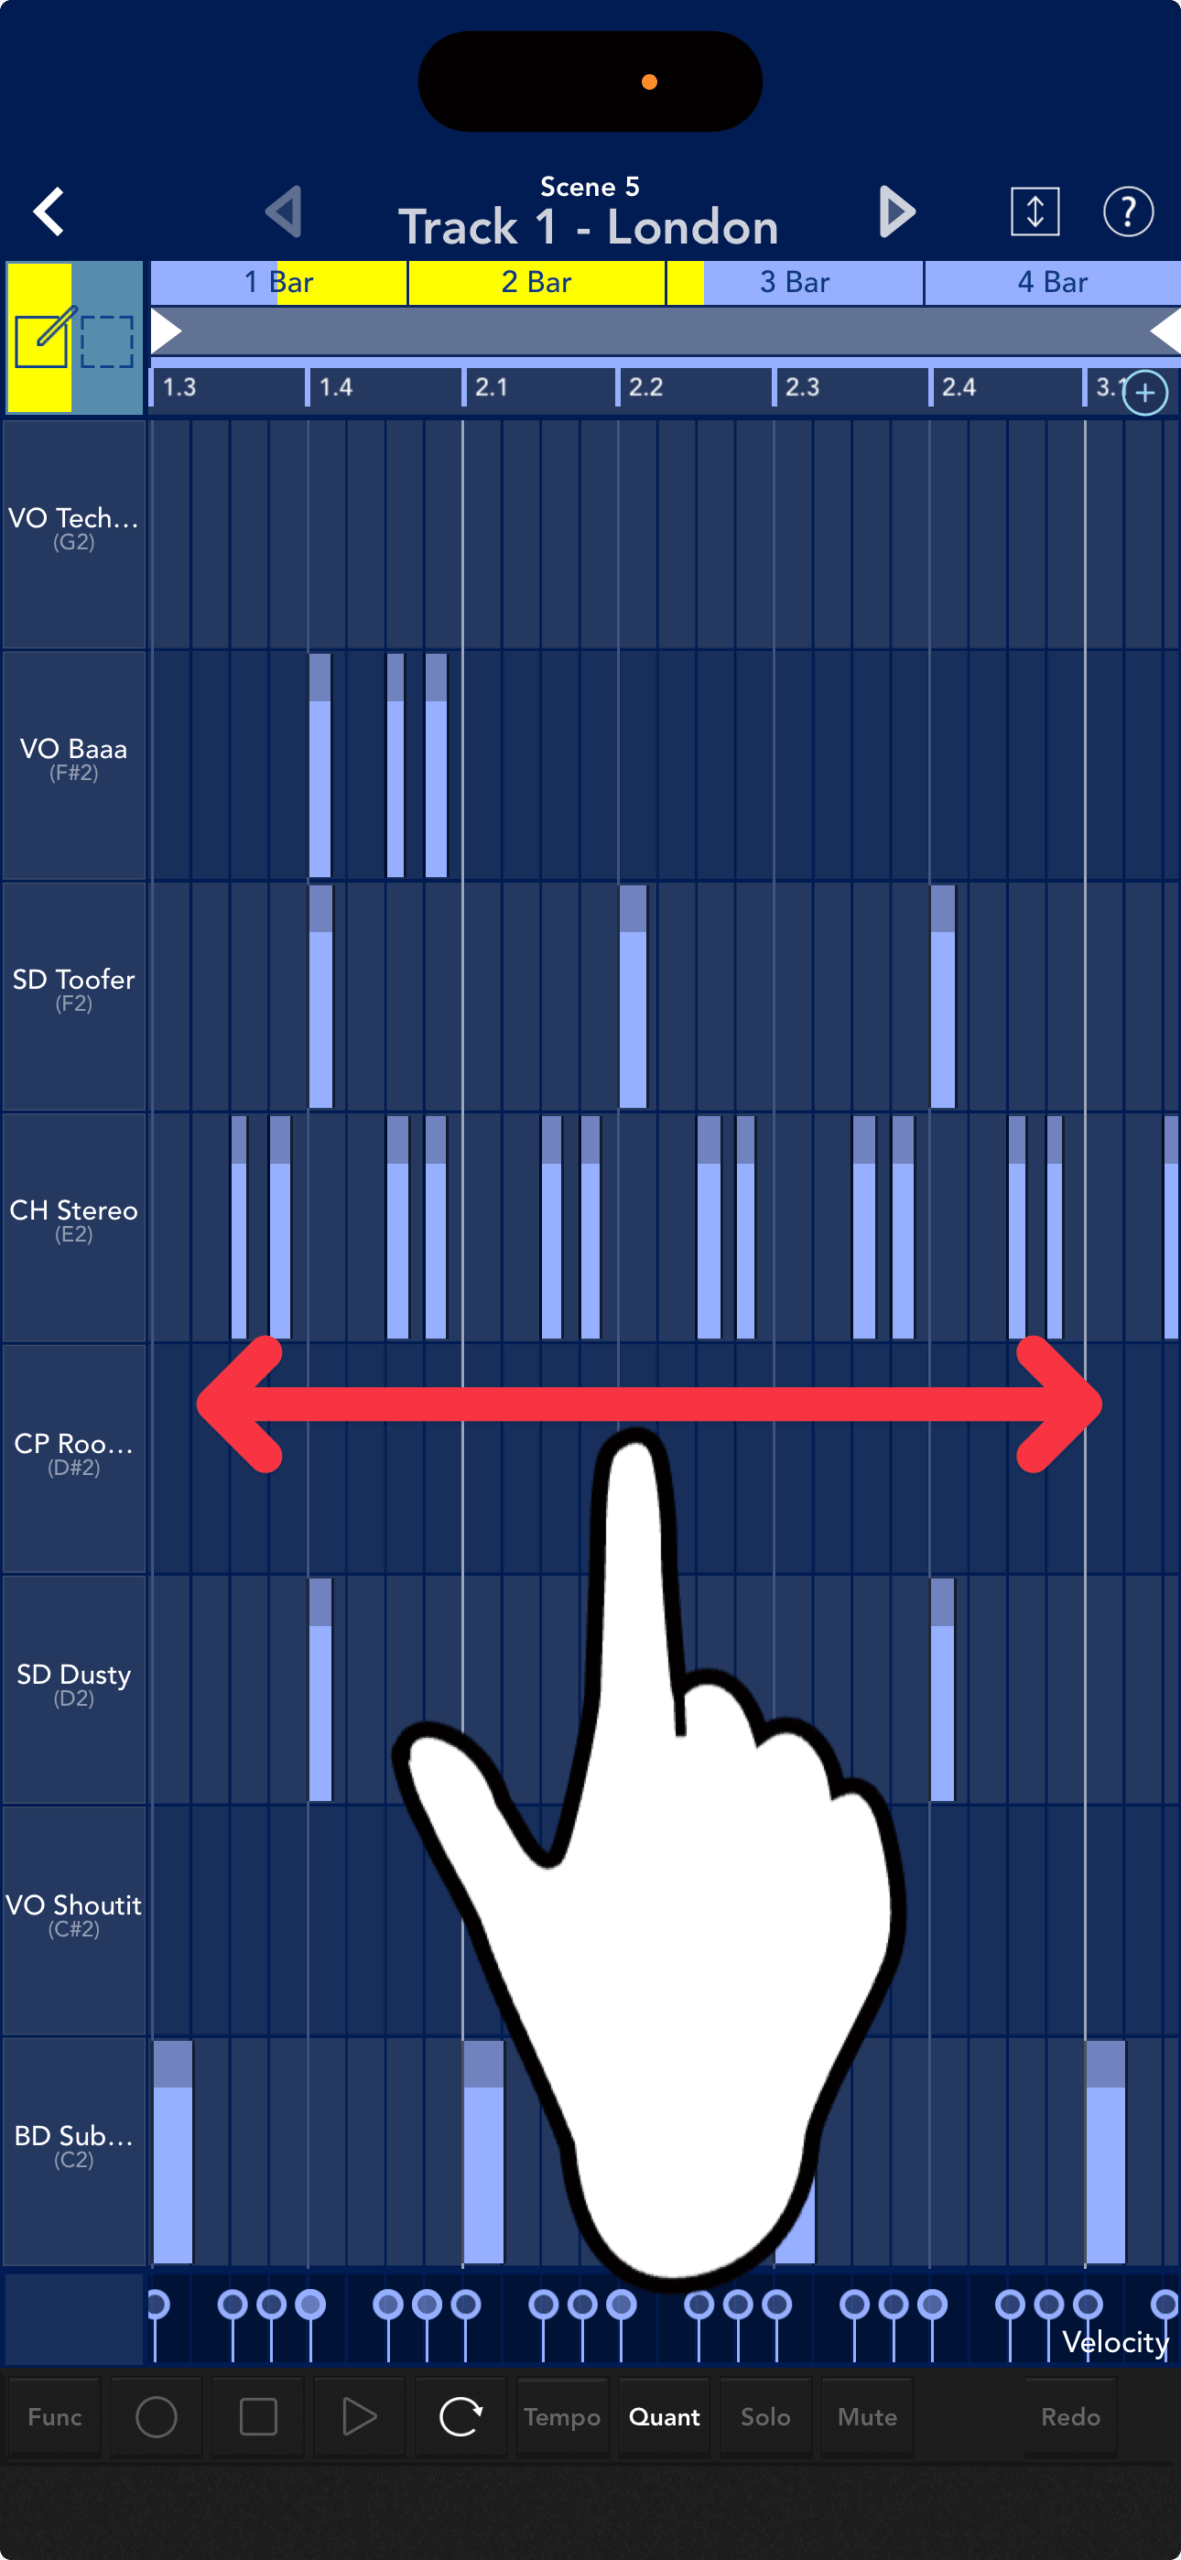
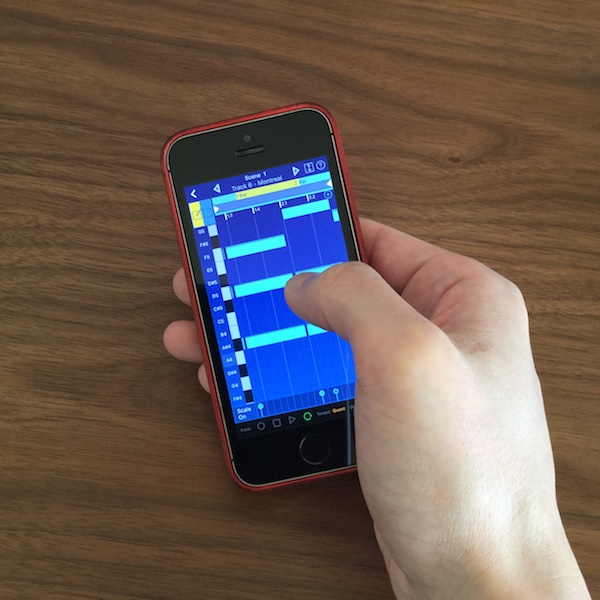
The benefit of one-finger mode is that you can hold your iPhone in one hand and scroll using just your thumb.
The downside is that you can't extend the note duration at the same time as placing it.
If you want to input a longer note in one-finger mode, press and hold the note for a moment and drag it to the right.
Two-finger mode improves usability by letting you quickly place notes of any length, but it makes scrolling while holding the iPhone with one hand more difficult.
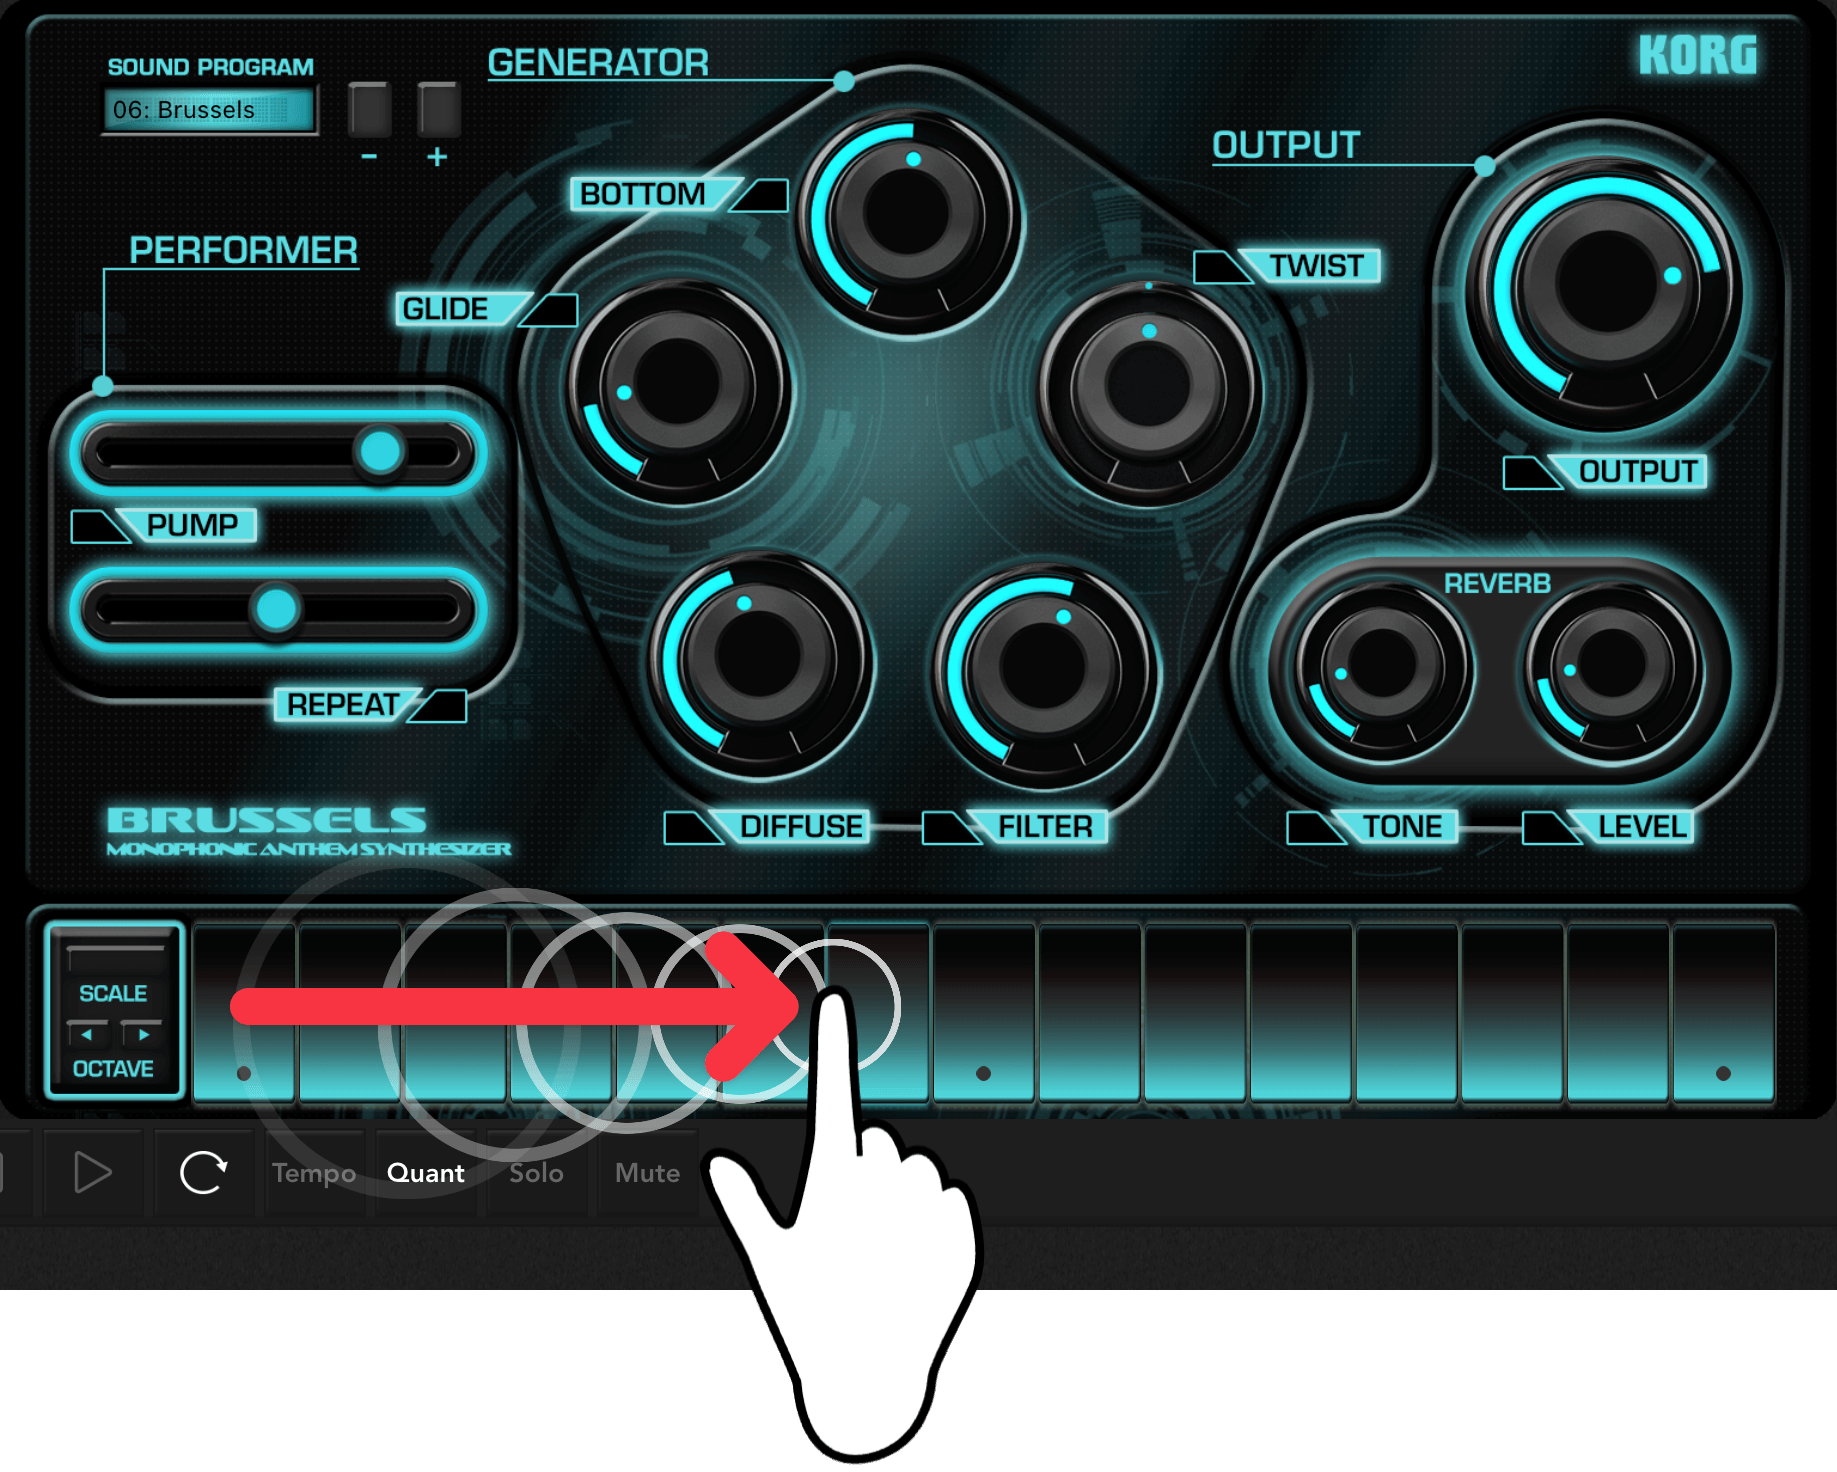
△ Disable Ripple Animation
Ripple animation is a technique that displays a trail of movement when you tap the keys or pads of a gadget instrument.
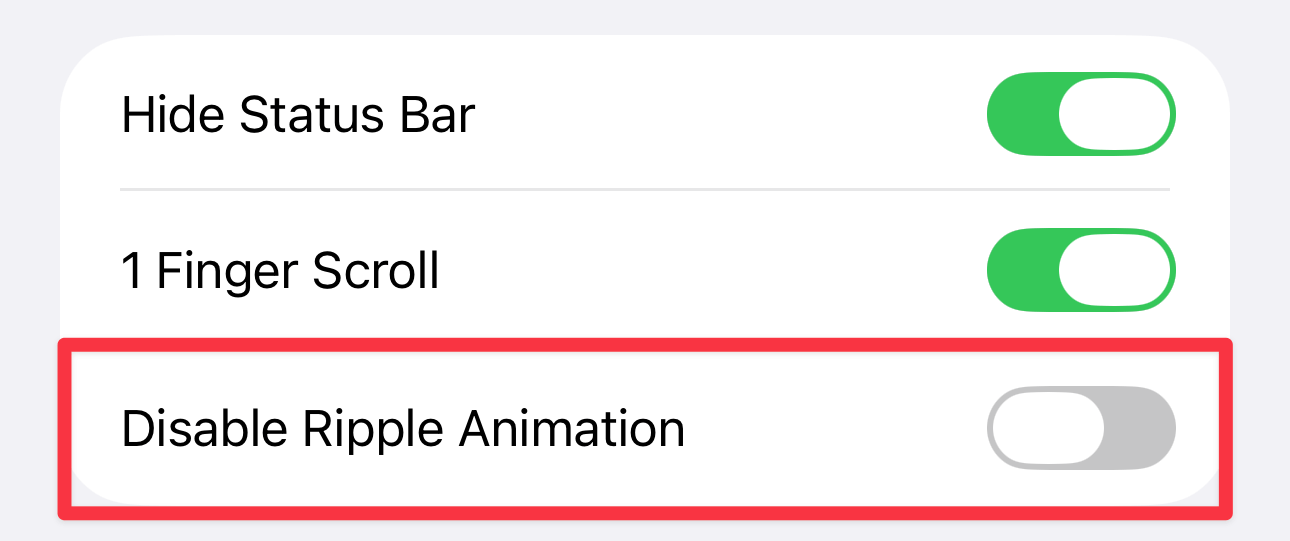
The flowing ripples are beautiful and fun to watch.
It's also useful when uploading videos of your performance, as it lets viewers know in which key you're playing.
◯ Disable Auto-Lock
If you turn on "Disable auto-lock", the iOS auto-lock function will be disabled while KORG Gadget is running.
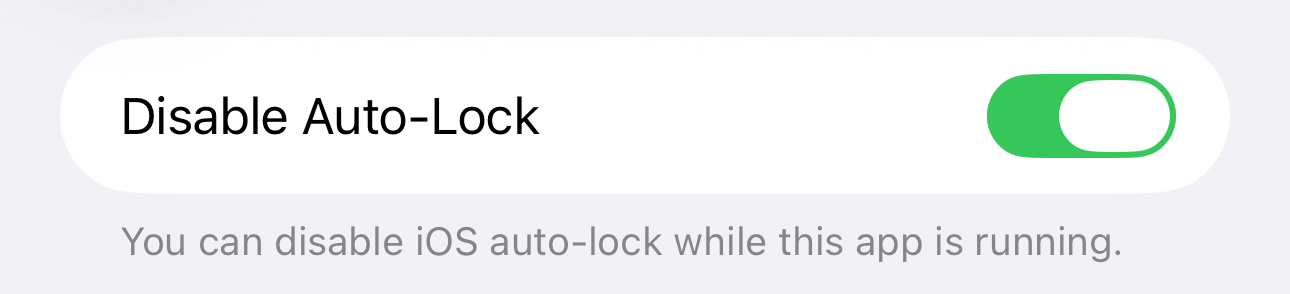
Your iPhone or iPad won't go to sleep if you don't use it for a while, saving you the trouble of unlocking it.
But if you want to conserve battery life on your device, you should leave it on.
◯ native mode
With Native Mode on, connecting a KORG controller will put the device into Native Mode.
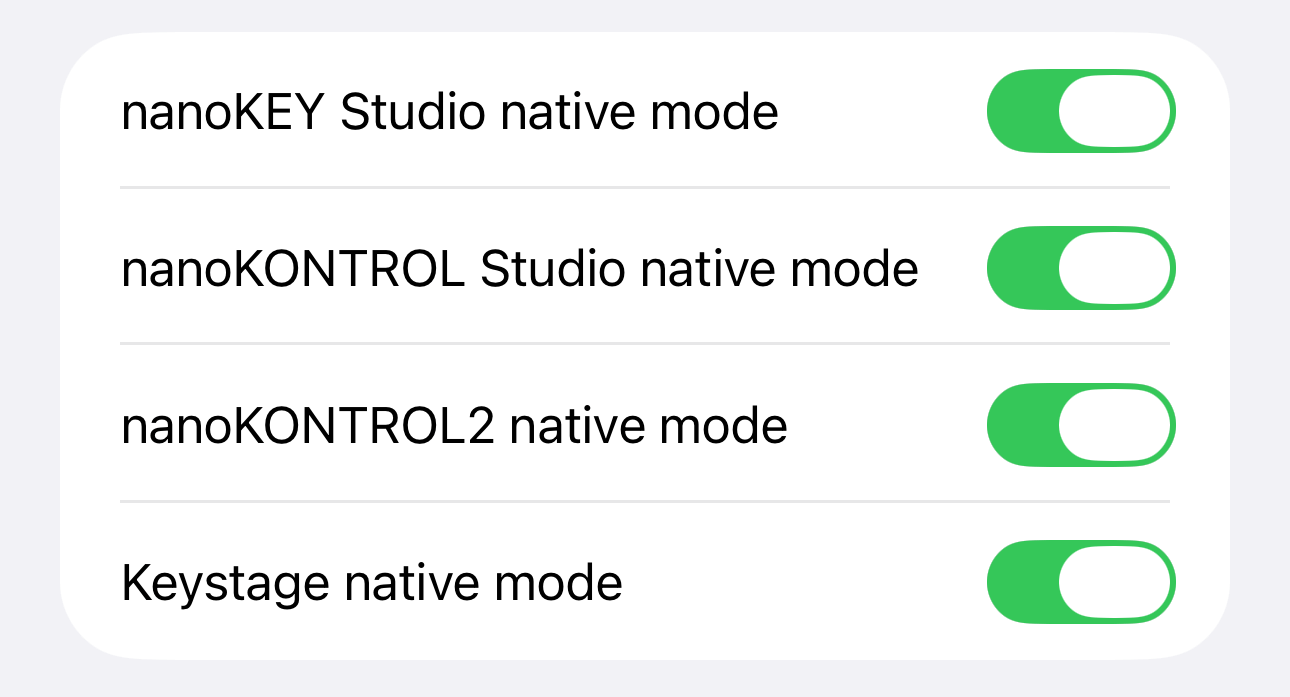
The optimal settings for operating KORG Gadget are assigned to the controller knobs, etc. Initially, there is no problem leaving them all on.
On the other hand, if you want to freely assign controller functions, turn it off. This setting is intended for intermediate to advanced users.
△ Enable Analytics
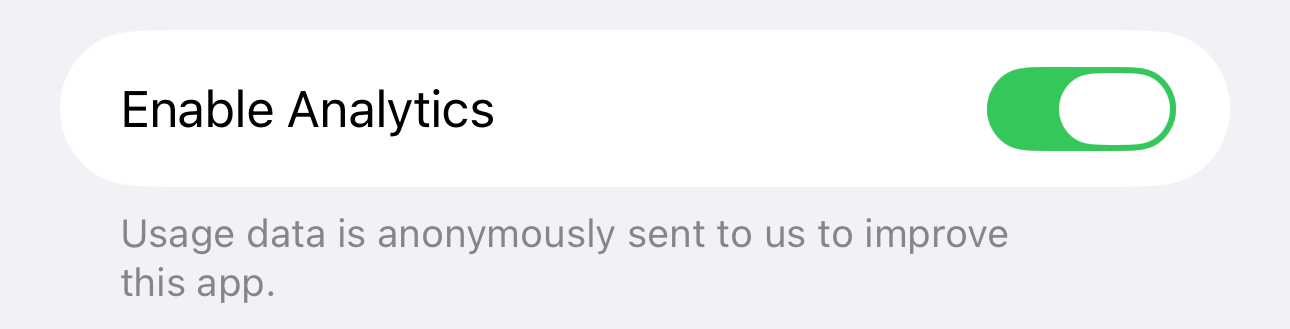
You are free to accept or reject this setting, but as a user we would like to help make KORG Gadget better.
Initial settings are important for smooth operation. Check them out now!
This time, we explained the initial setup for KORG Gadget for iOS. We hope it was helpful.
This concludes the setup section of the KORG Gadget "Beginner's Guide." Thank you for your hard work!
Next time, we'll move on to the series where we actually open and play demo songs!